Hello again!
I hope you enjoyed my last two posts about the recreation of Marie-Antoinettes court gown!
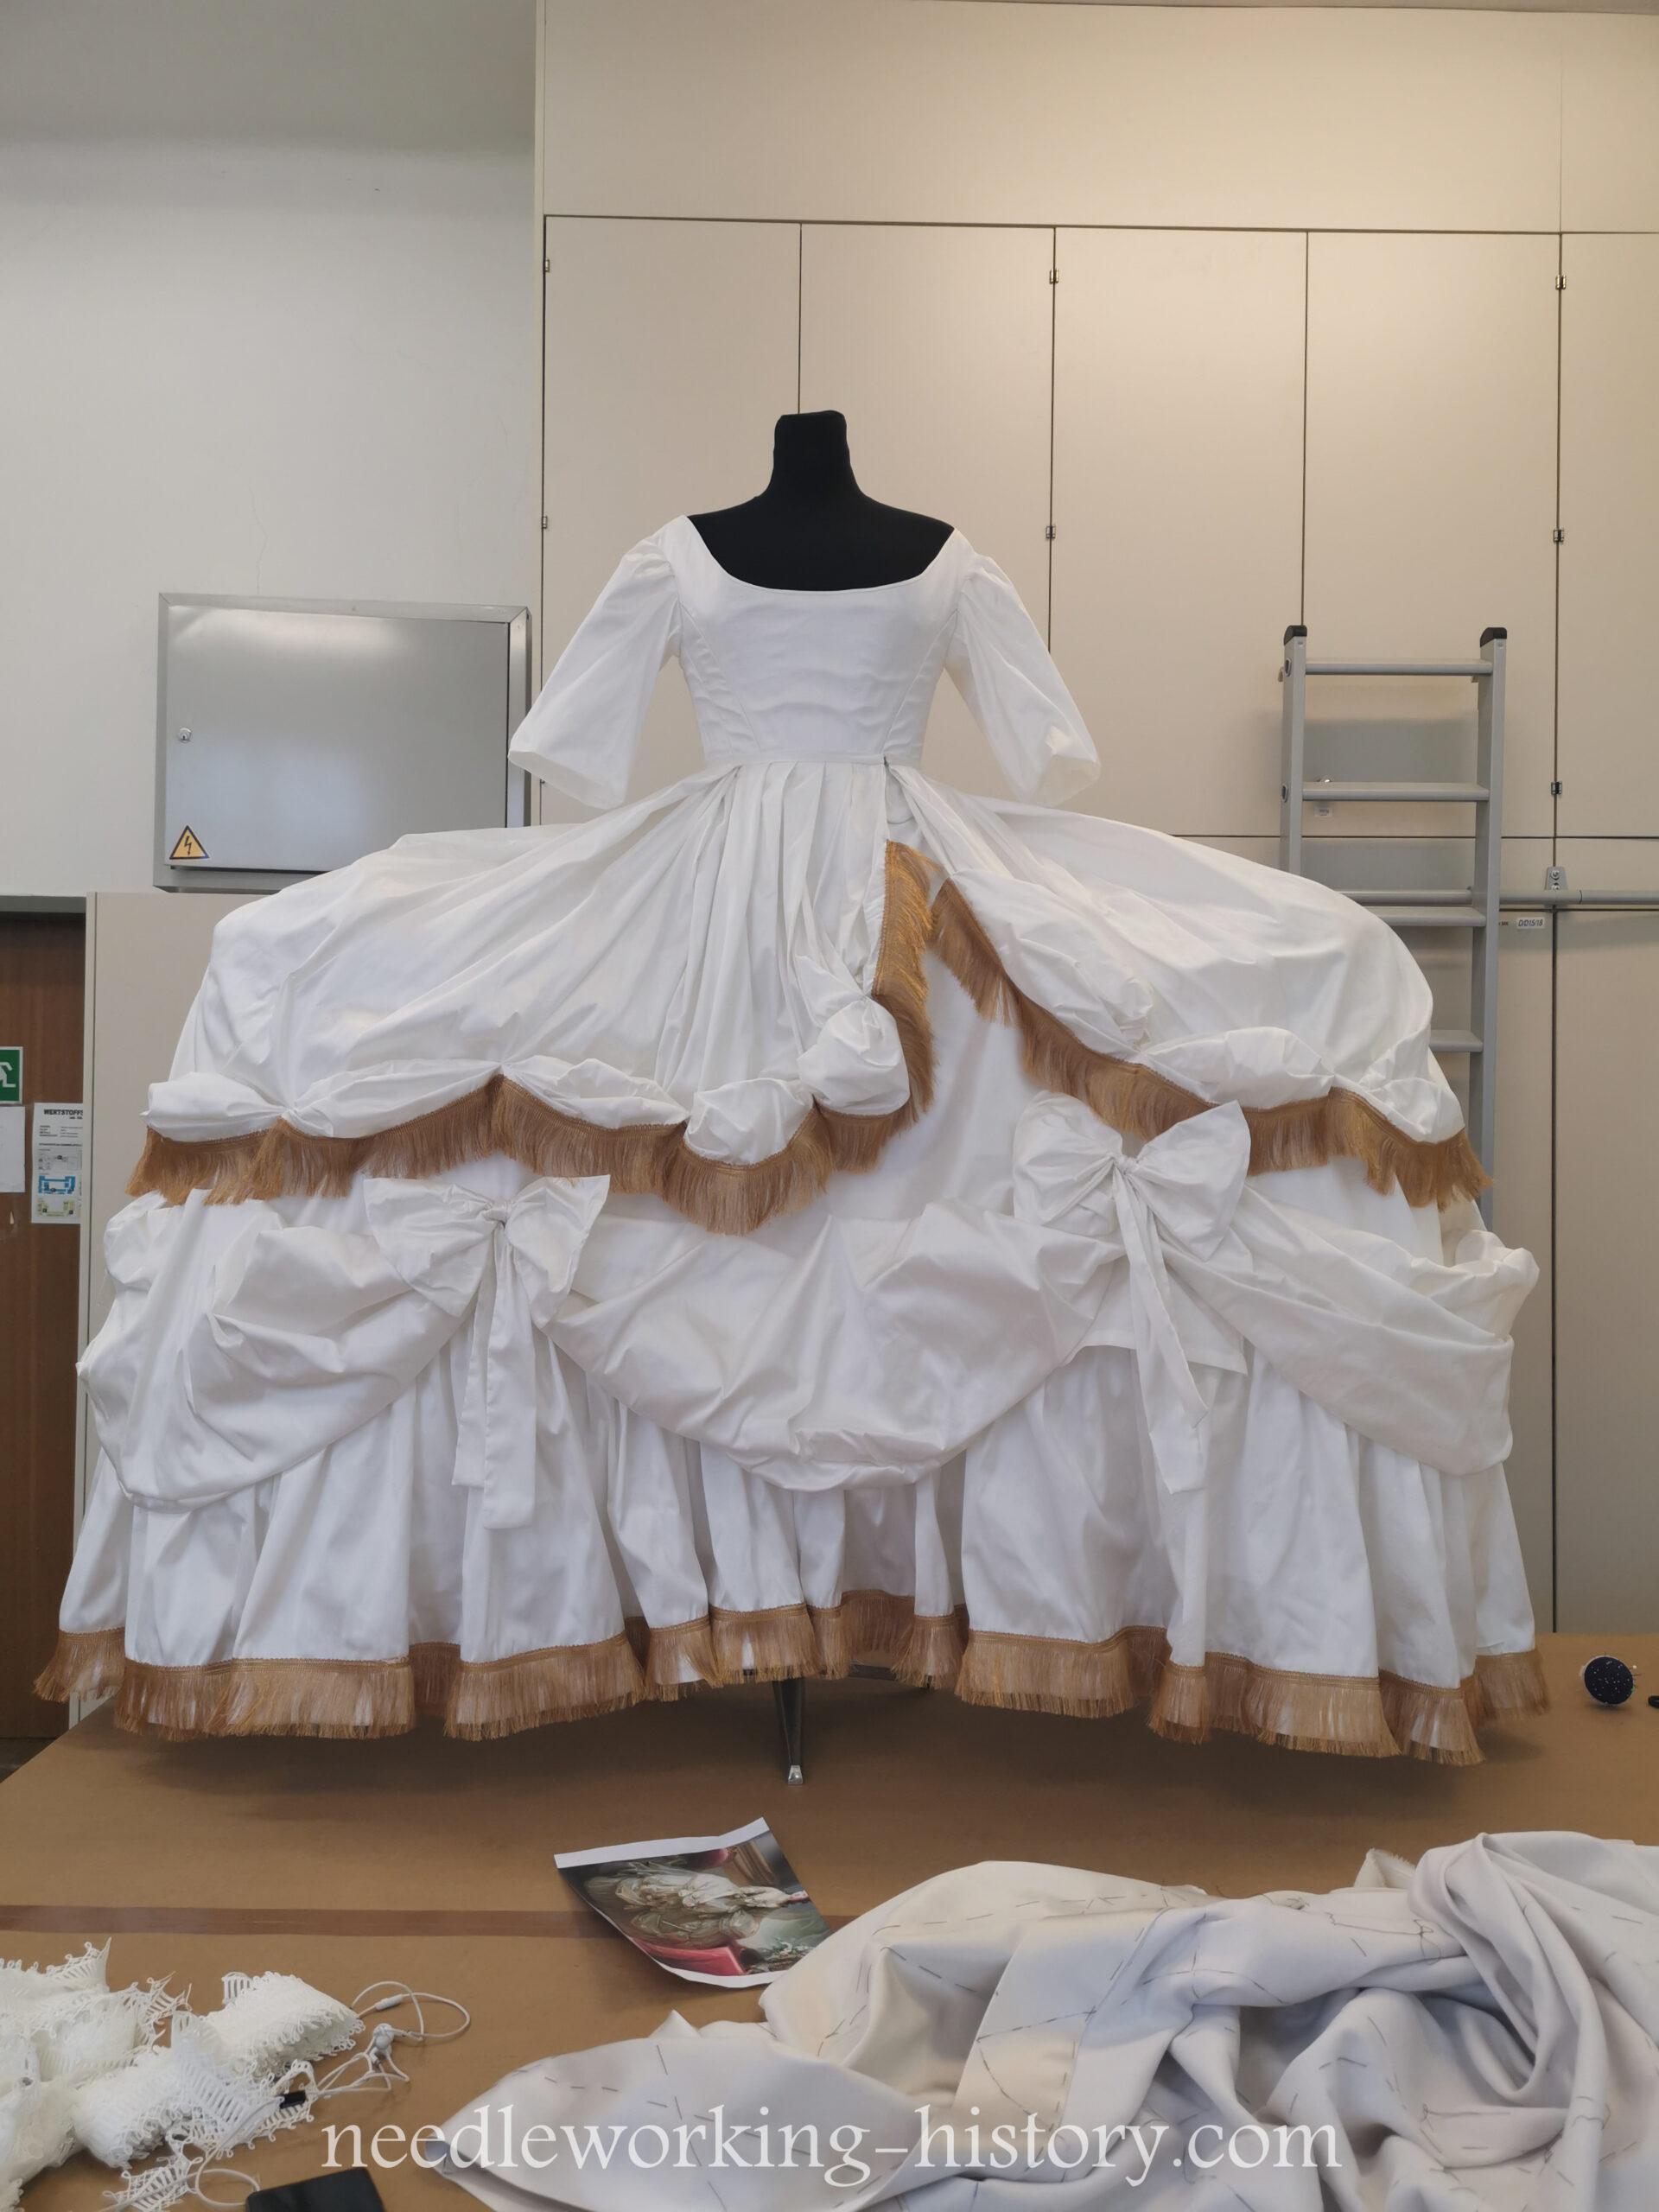
If you haven’t seen them go check them out to learn more about the reason why I made this dress and also how I made the skirt of the gown!
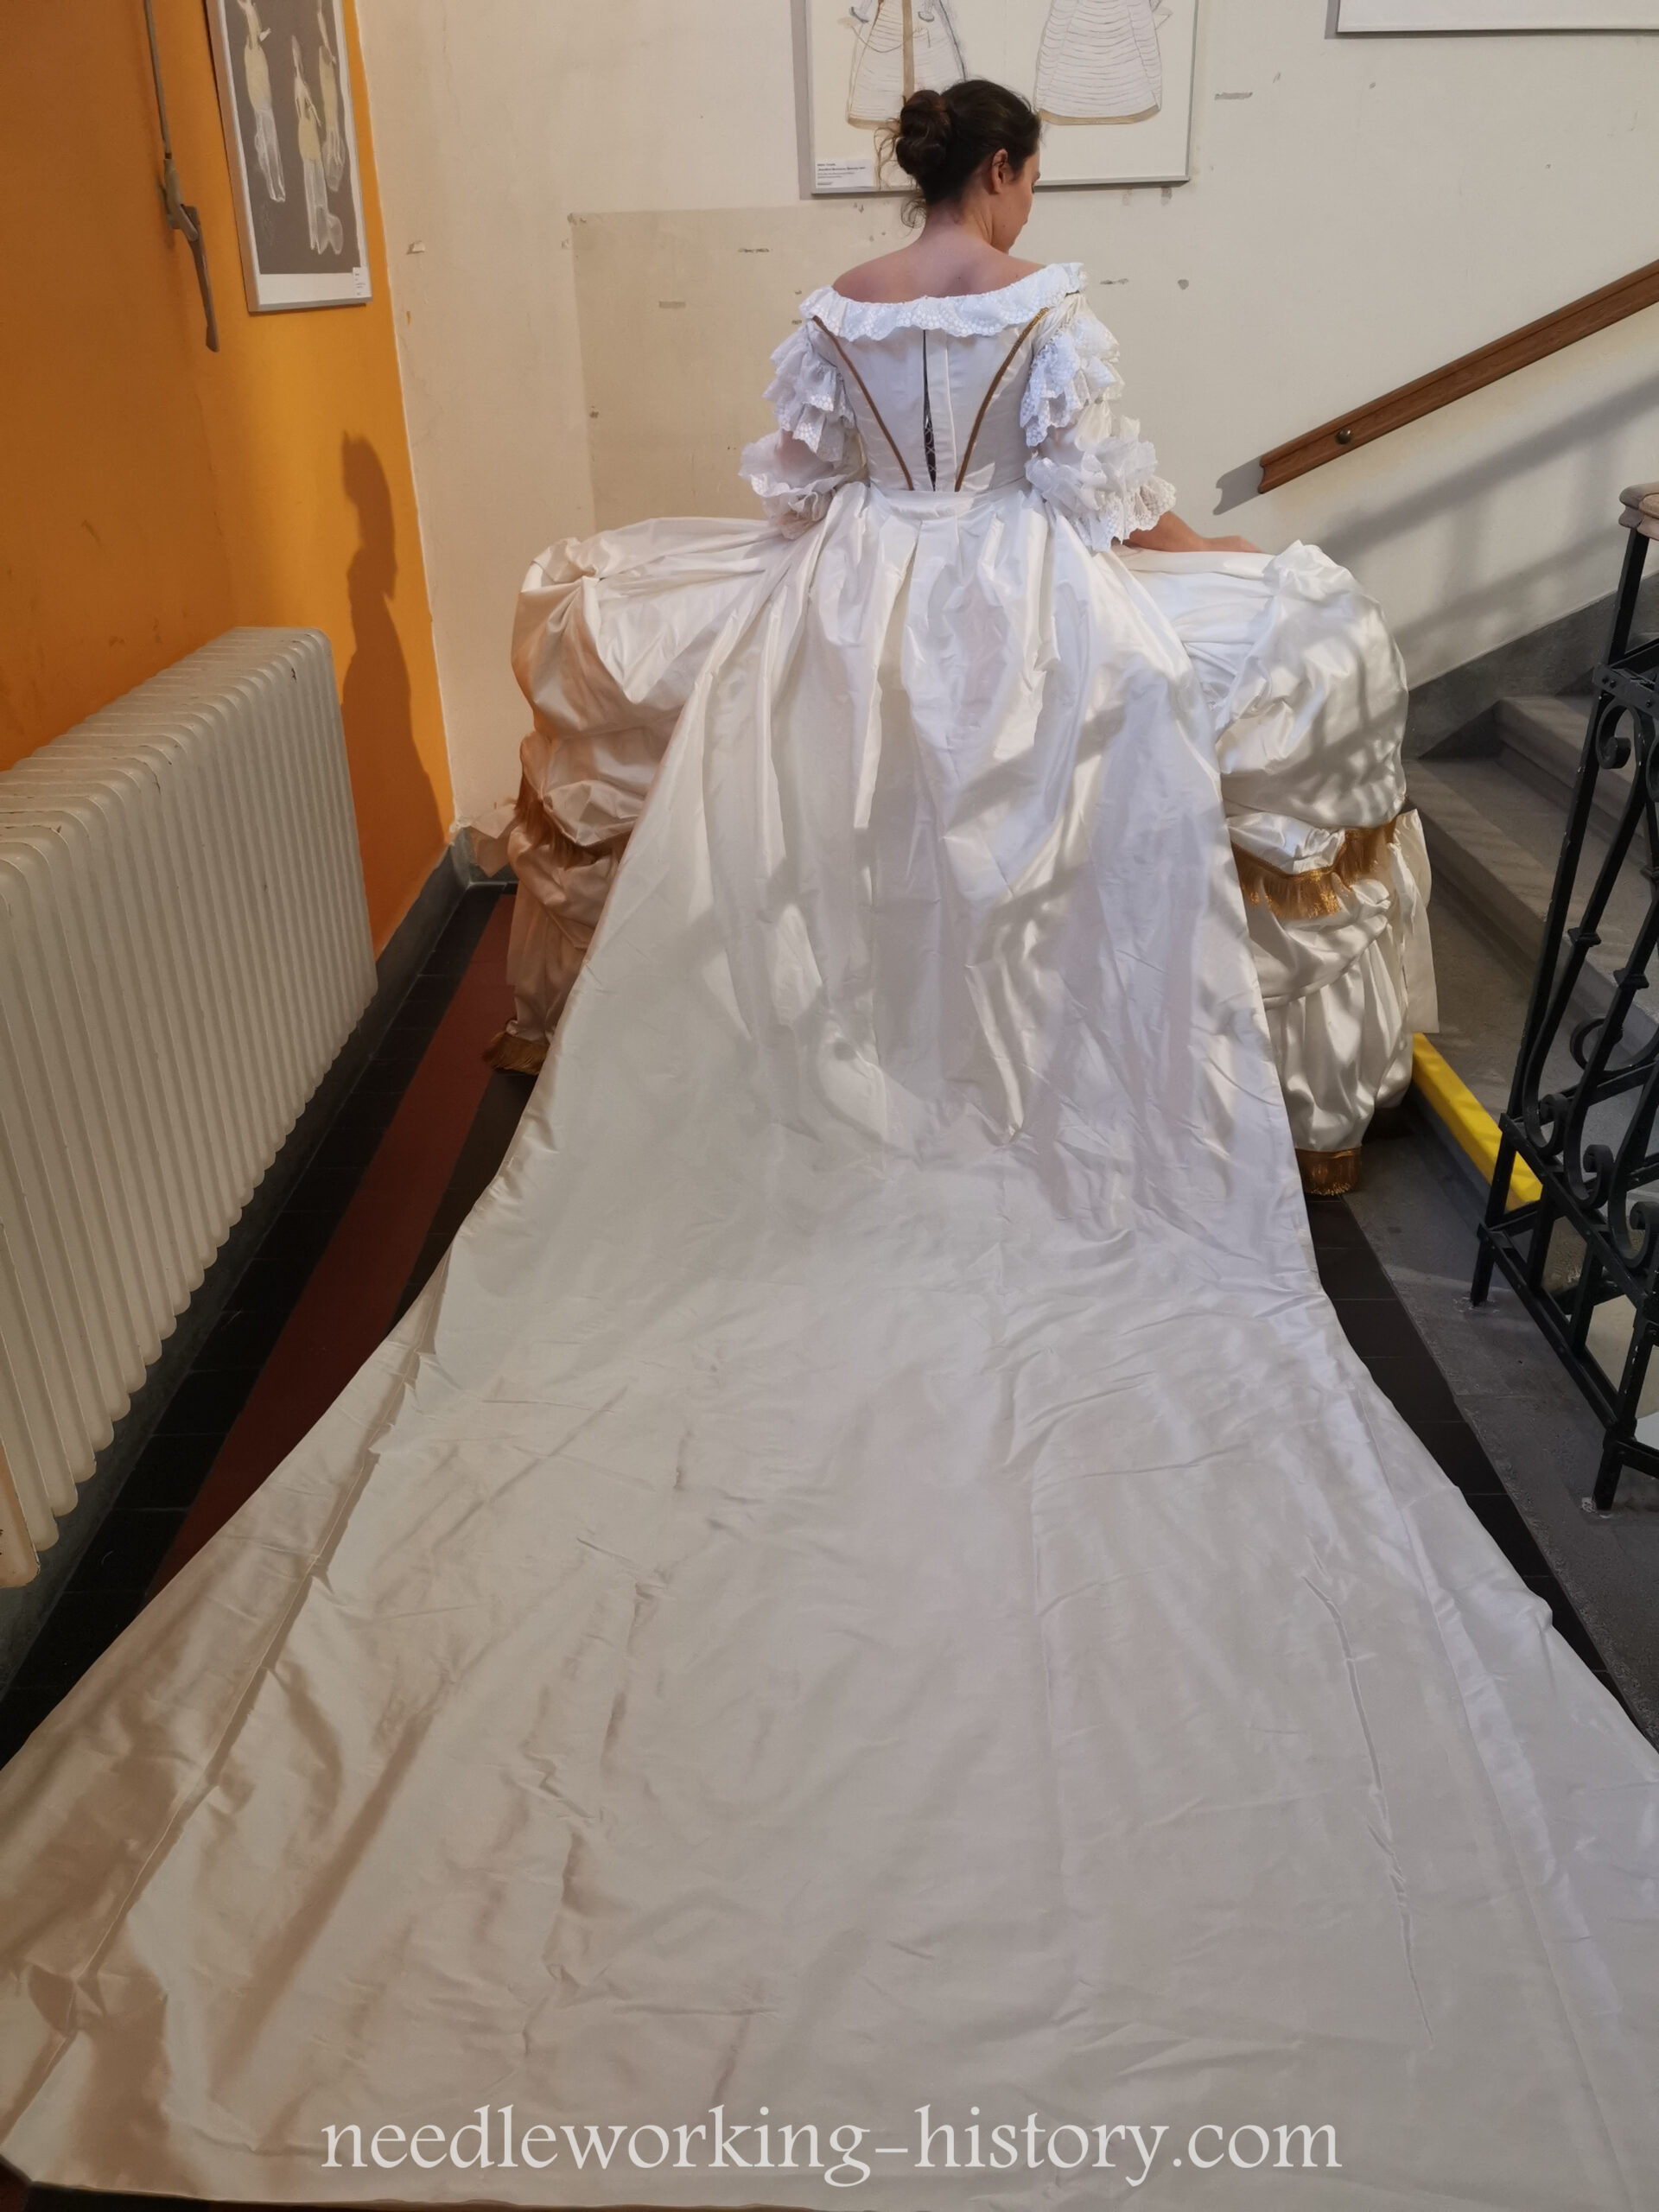
Today we’re going to talk a little bit about the bodice of the dress.
First of all: I did NOT use authentic methods of construction although I based my bodice on that.
I used stage costume techniques to make the bodice and also a modern pattern drafting system.


For fabrics I used:
- one layer silk taffeta
- one layer fusible interfacing for jersey fabrics (ironed onto the silk)
- one layer coutil
- one layer of satin coutil
As boning I used 7mm wide flat steel boning and also 7mm wide spiral steel boning which got inserted into channels which I made with the coutil and satin coutil.
I also used white metal grommets becauce I didn’t want to risk a tear in hand sewn grommets. And since they got covered by a flap, they aren’t showing anyways.
My first fitting of the bodice was made with all the seam allowences on the outside because we wanted to be able to draw onto the bodice without risking anything showing through. You can clearly see the boning on this picture and also how we pinned back the seam allowance on the right side of the neckline. You also can see how much seam allowance we gave on the left side – we wanted to be able to play around!
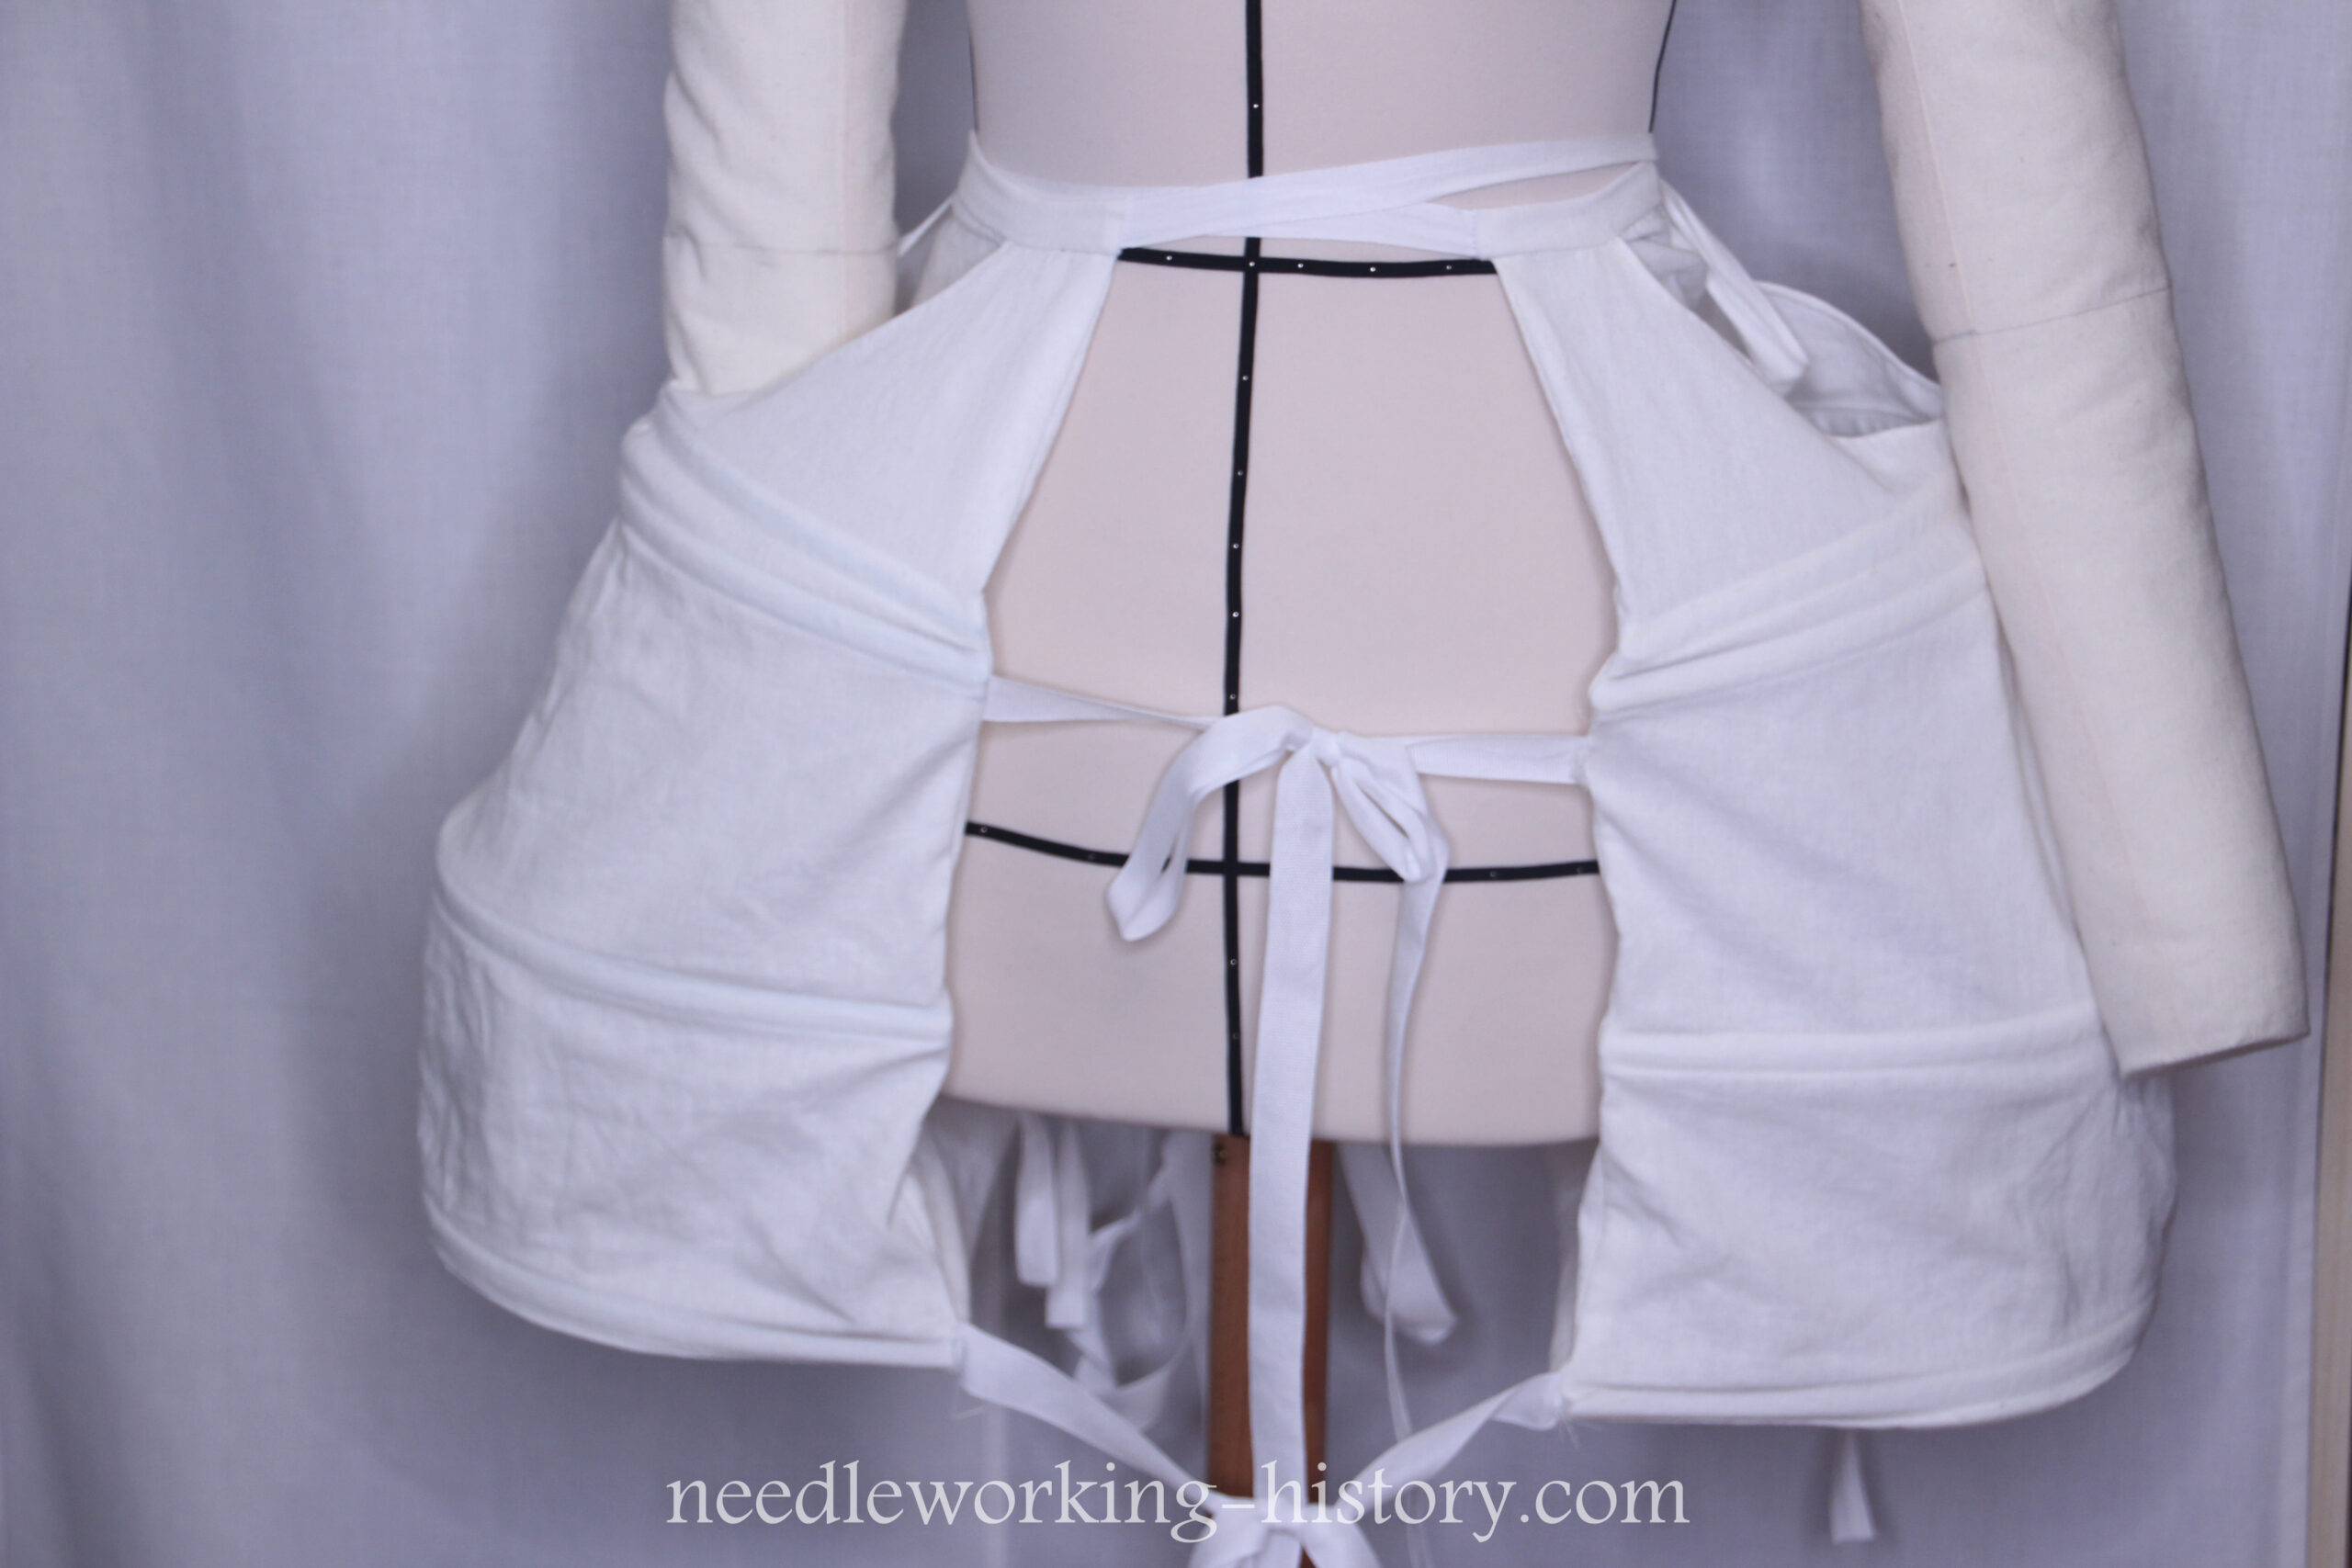
The bodice did fit almost perfectly in the first place. (In the back you can see my pannier hangin‘ around :D)


After the first fitting I went on, made all the alterations and started topping the base layer with the silk.

I was also working at home on the bodice and this was the first try on after adding the silk layer.
On the next day in school I had my second fitting and we took the bodice in by a few centimetres at the waist because it was pretty loose.


This was the bodice after the second fitting. Please excuse my super stupid look but I was super tired and exhausted 😀
After making all the alterations (again) I started with tidying up all the seam allowanced and the neckline and tabs.
I started with cutting down the seam allowences so that only the silk layer was longer to cover the ends. (The same procedure as making flat felled seams). Pinned everything down and sewed it down by hand.
This took SO long but it looked so neat inside.


The tabs were finished all individually. I sewed down bias tape, cut everything down to 3 mm and finished them by hand.
Last fitting! We pinned on the lace to the sleeves to see how it looks.


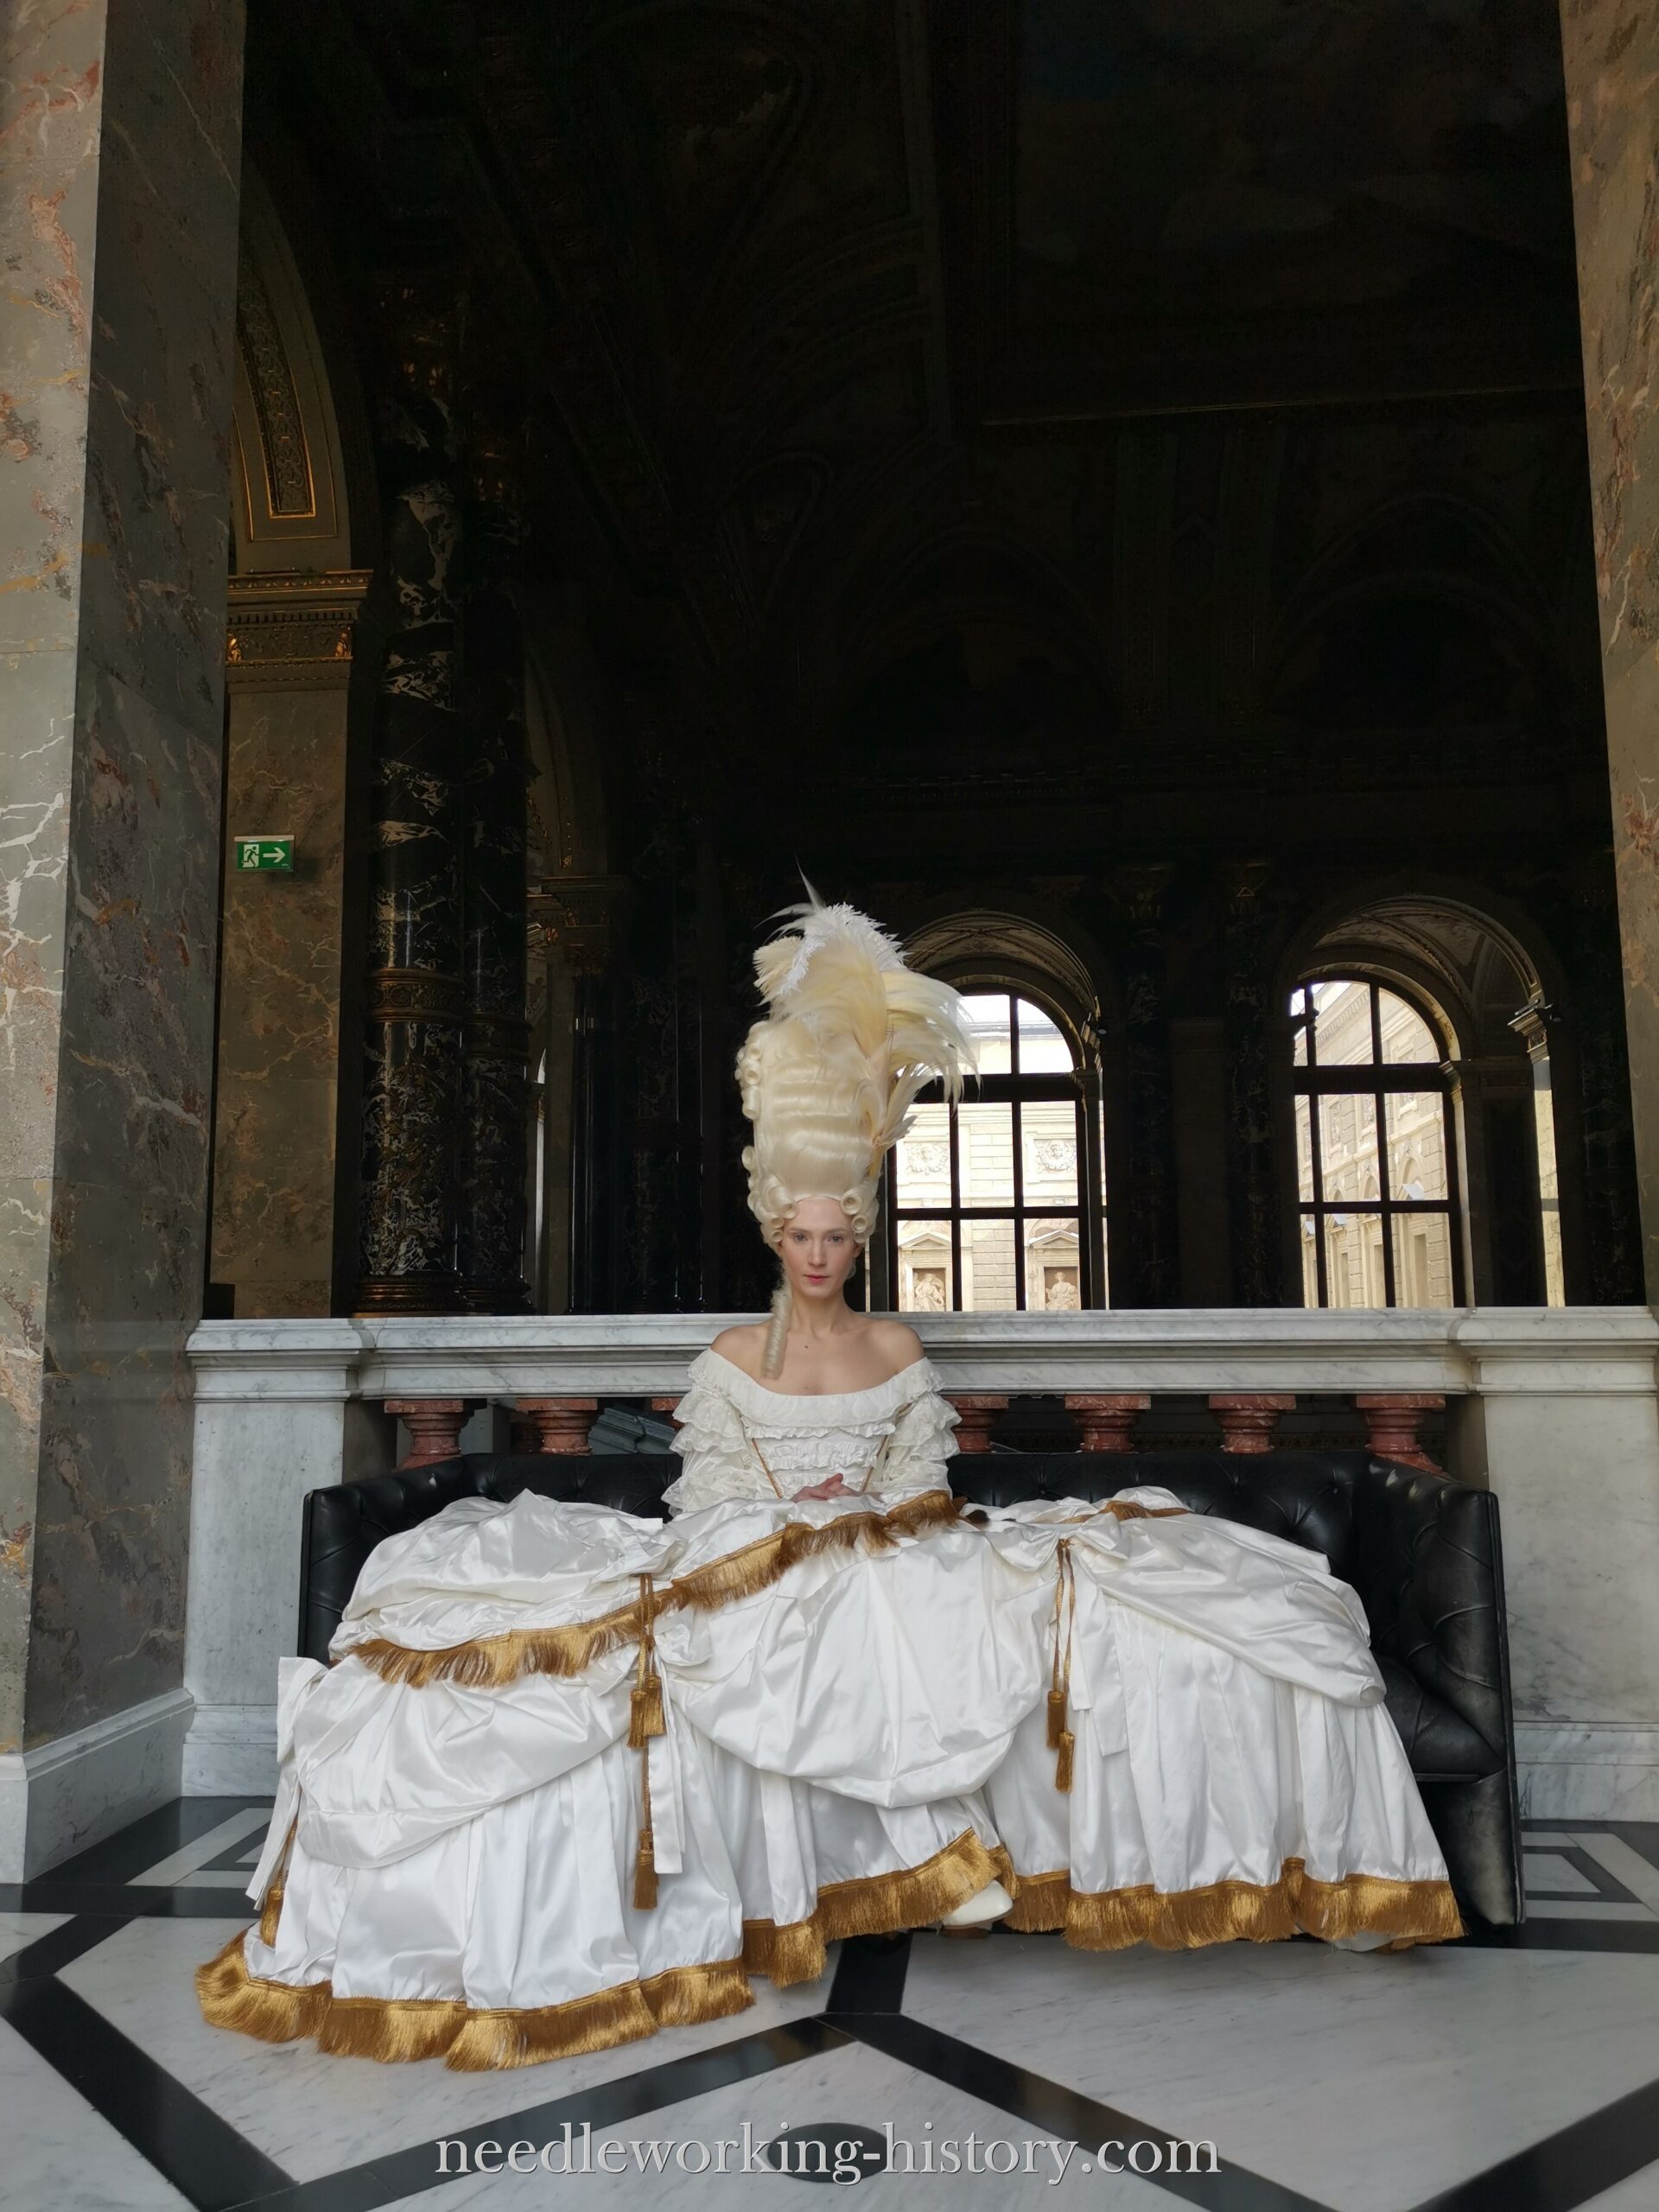
And this was the dress in the final try on. It was late, I look like a mess but I was so happy to be finally done.


