My trip to venice is approaching so fast and my sewing list was still very long for this trip so I used my semester break to work on all the accessoires I wanted and needed.
Since the carnival is in late february which is usually one of the coldest months in europe I remembered to make a new cape because my fake fur cape wasn’t really warming when I was in Klosterneuburg a few weeks ago.
I used – again – the pattern from Costume Close Up but this time I used a lovley and soft wool-polyester blend which I got for 8€/m at Textil Müller.


It took me about a day to finish the cape because I was finishing all seams by hand. If you sew it completly by machine you probably would need 2-3 hours from cutting to finish.
Since I bought 3m of the wool I still had a few bigger leftover pieces and I decided to make a muff, because my friend Laura (@goldkehlchen20 on instagram and also Goldkehlchen20 on youtube) made a super pretty and fluffy one and I was a bit jealous 😀
I started documenting my first try of the muff but I wasn’t completley happy with it so in the and I made a new one.
And since I don’t want you to make the same mistakes as I, I’m still going to tell you what I did and also what you should do instead. 😀
1: First I started with cutting my outer fabric, the lining and two layers of Kalmuk. It’s like molton but heavier and more dense. I would recommend: one layer Kalmuk and one layer molton!
2: Then I pad stitched the Kalmuk to the lining (use the Molton here!). Make very big stitches, you only need them for the quilting process.


3: Now you draw your quilting pattern to the right side of the lining. I use a ‚friction‘ pen for it. The ink disappears when it comes in contact with heat/ironing. But you should try on a scap piece if it works on your fabric or if it leaves a residue.
4: Now you start sewing. I did it with my sewing machine but you can also do it by hand. You should always sew in one direction so that the fabric won’t stretch and get wrinkly. Then you can remove tha pad stitching.


5: And at this point I forgot to take pictures beacause it was getting really late.
But this is now easy. You sew together the short sides so that the outer fabric and the lining form a roll.
I then stitched a second layer Kalmuk on the lining BUT you better stich the Kalmuk directly to the wool, so that the fabric gets a bit stiffer and not so floppy. If you use real fur you don’t need to do that because the hide is firmer than wool.
6: And now you put the lining and outer fabric right sides together, sew all around and fold it over.
Now you start folding in the seam allowance ans start sewing the second side by hand. When you only have 20-25 cm left, you fill the muff with whatever you like (polyester filling, down feathers, wool filling,…).
In the first muff I used polyester filling.


As you can see the muff got very stiff and it got to be triangular. I didn’t like this shape at all so I made a second muff but with the corrections I mentionned above.
As a lining I used a 100% silk satin and I quilted it with the molton.
I talked to my friend Laura about this and she recommended down feathers because they are way softer than polyester filling and probably would create also a softer look.
I‘ don’t have finished pictures yet because I’m now going to fill the muff with down feathers I still have to pick up on thursday from a local company which sells duvets and cushions filled down feathers. But there isn’t much left to do so I call this muff-project done! 😀


Next I was working on a fan. I found a old wooden one at home and started painting it with water colors. This failed.
So I got some paint and started painting it.
On the picture it wasn’t completley painted but it is now and I still have to bind it together again and I want to finish this this week.

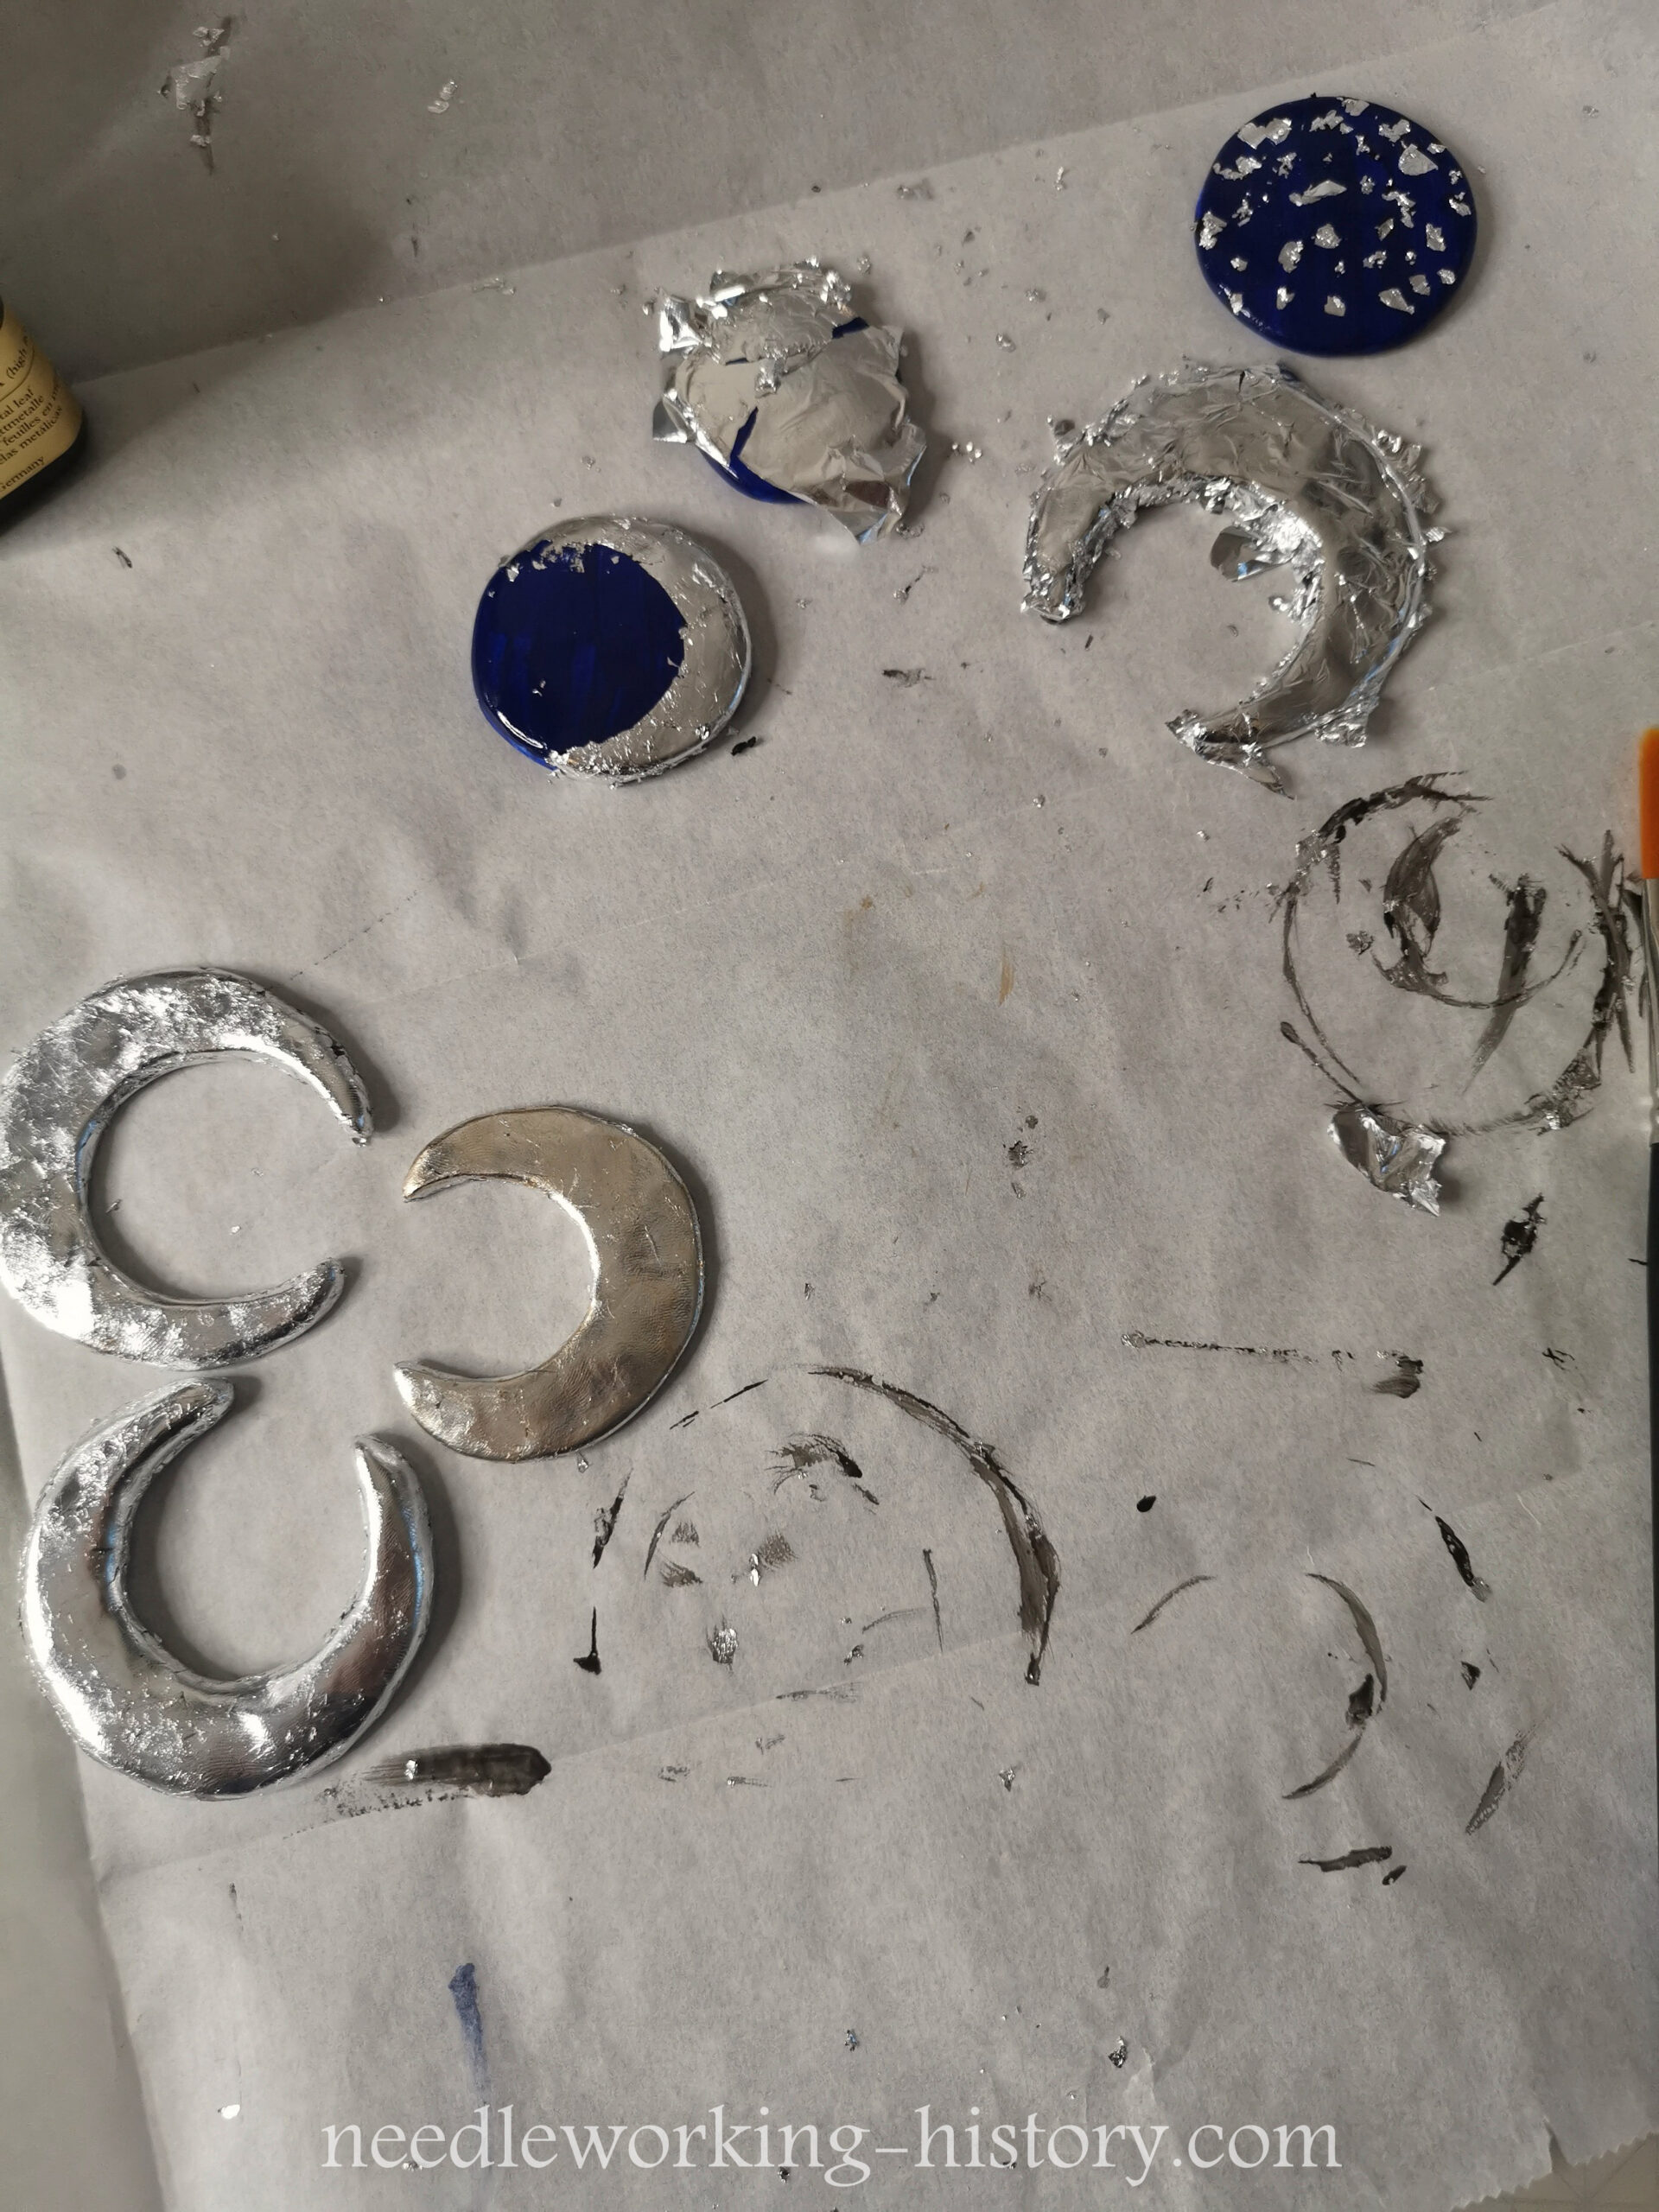
And last but not least: The brooch. I started making a few fimo-moons and also started painting and silver-plating a few of them. The rest of my fimo moon is in school where I’m also going to silver-plate them on monday.
You can also see the glass pearls I bought for my costume. They are not as green as they look like in the packaging 😀


And that’s it for today. In the next post I’m going to show you the brooch, the fan and also the muff finished and also the skirt of my dress. Hopefully I’m also going to show you progress on the bodice!


