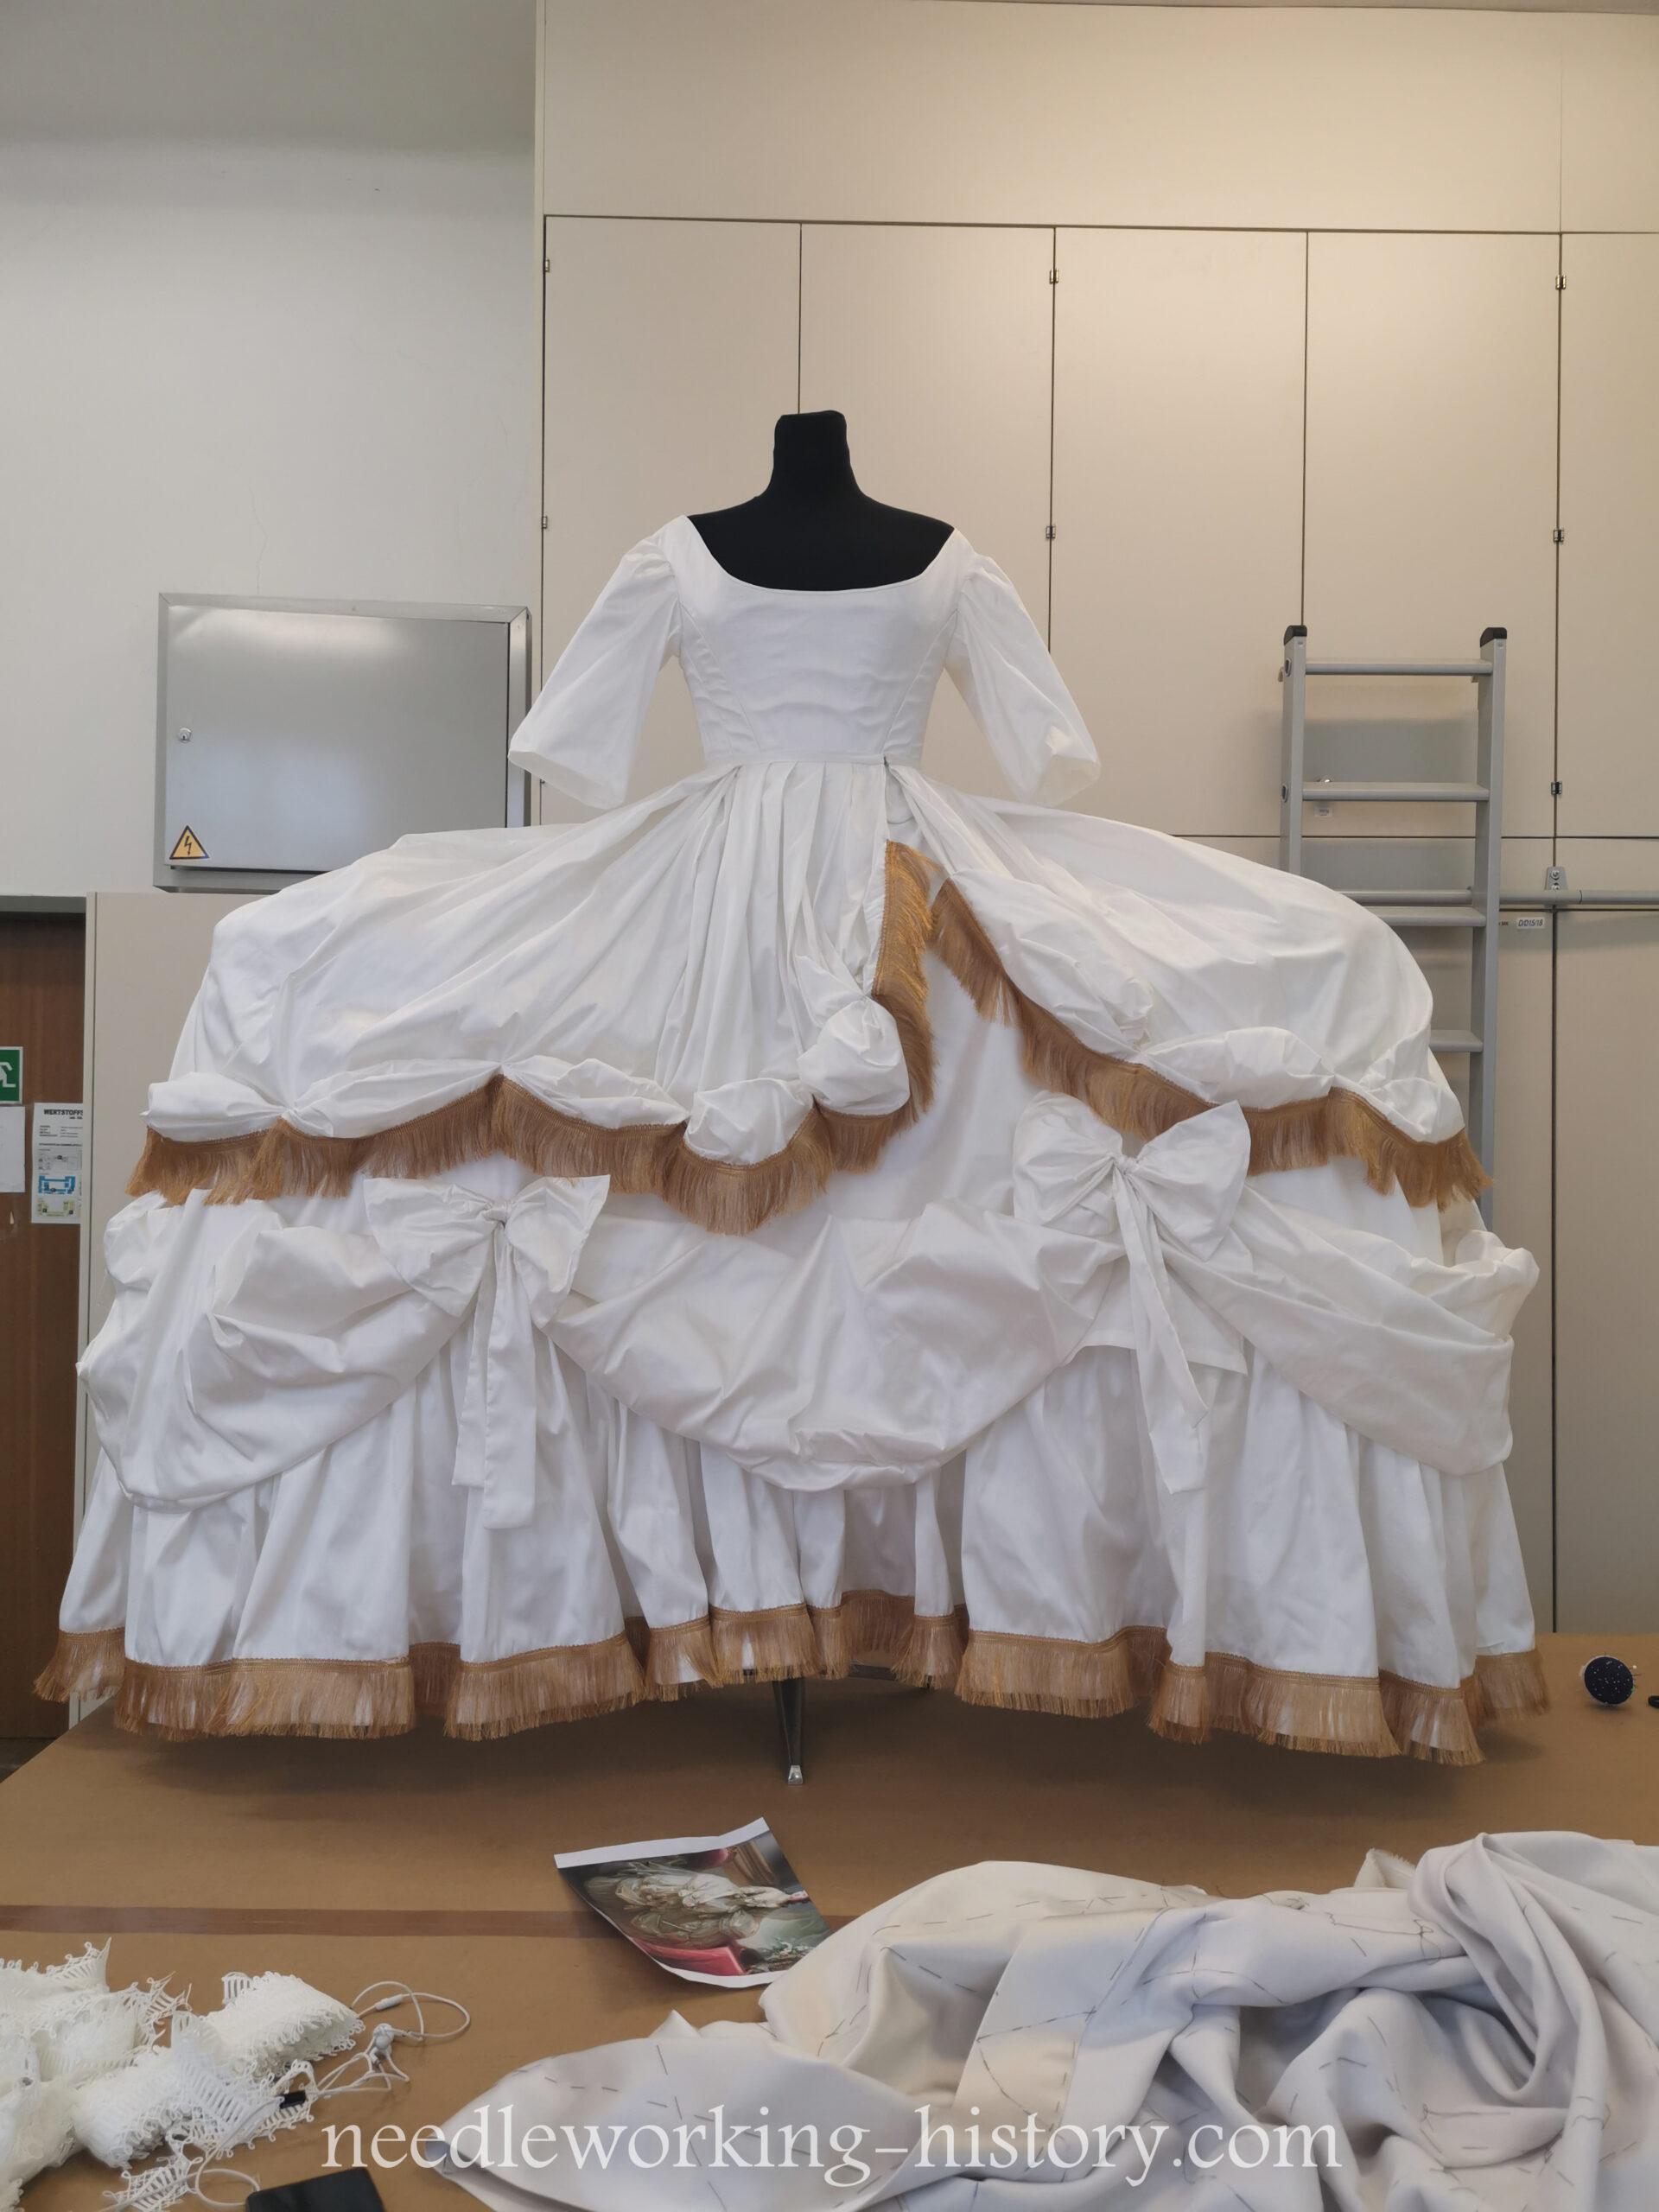
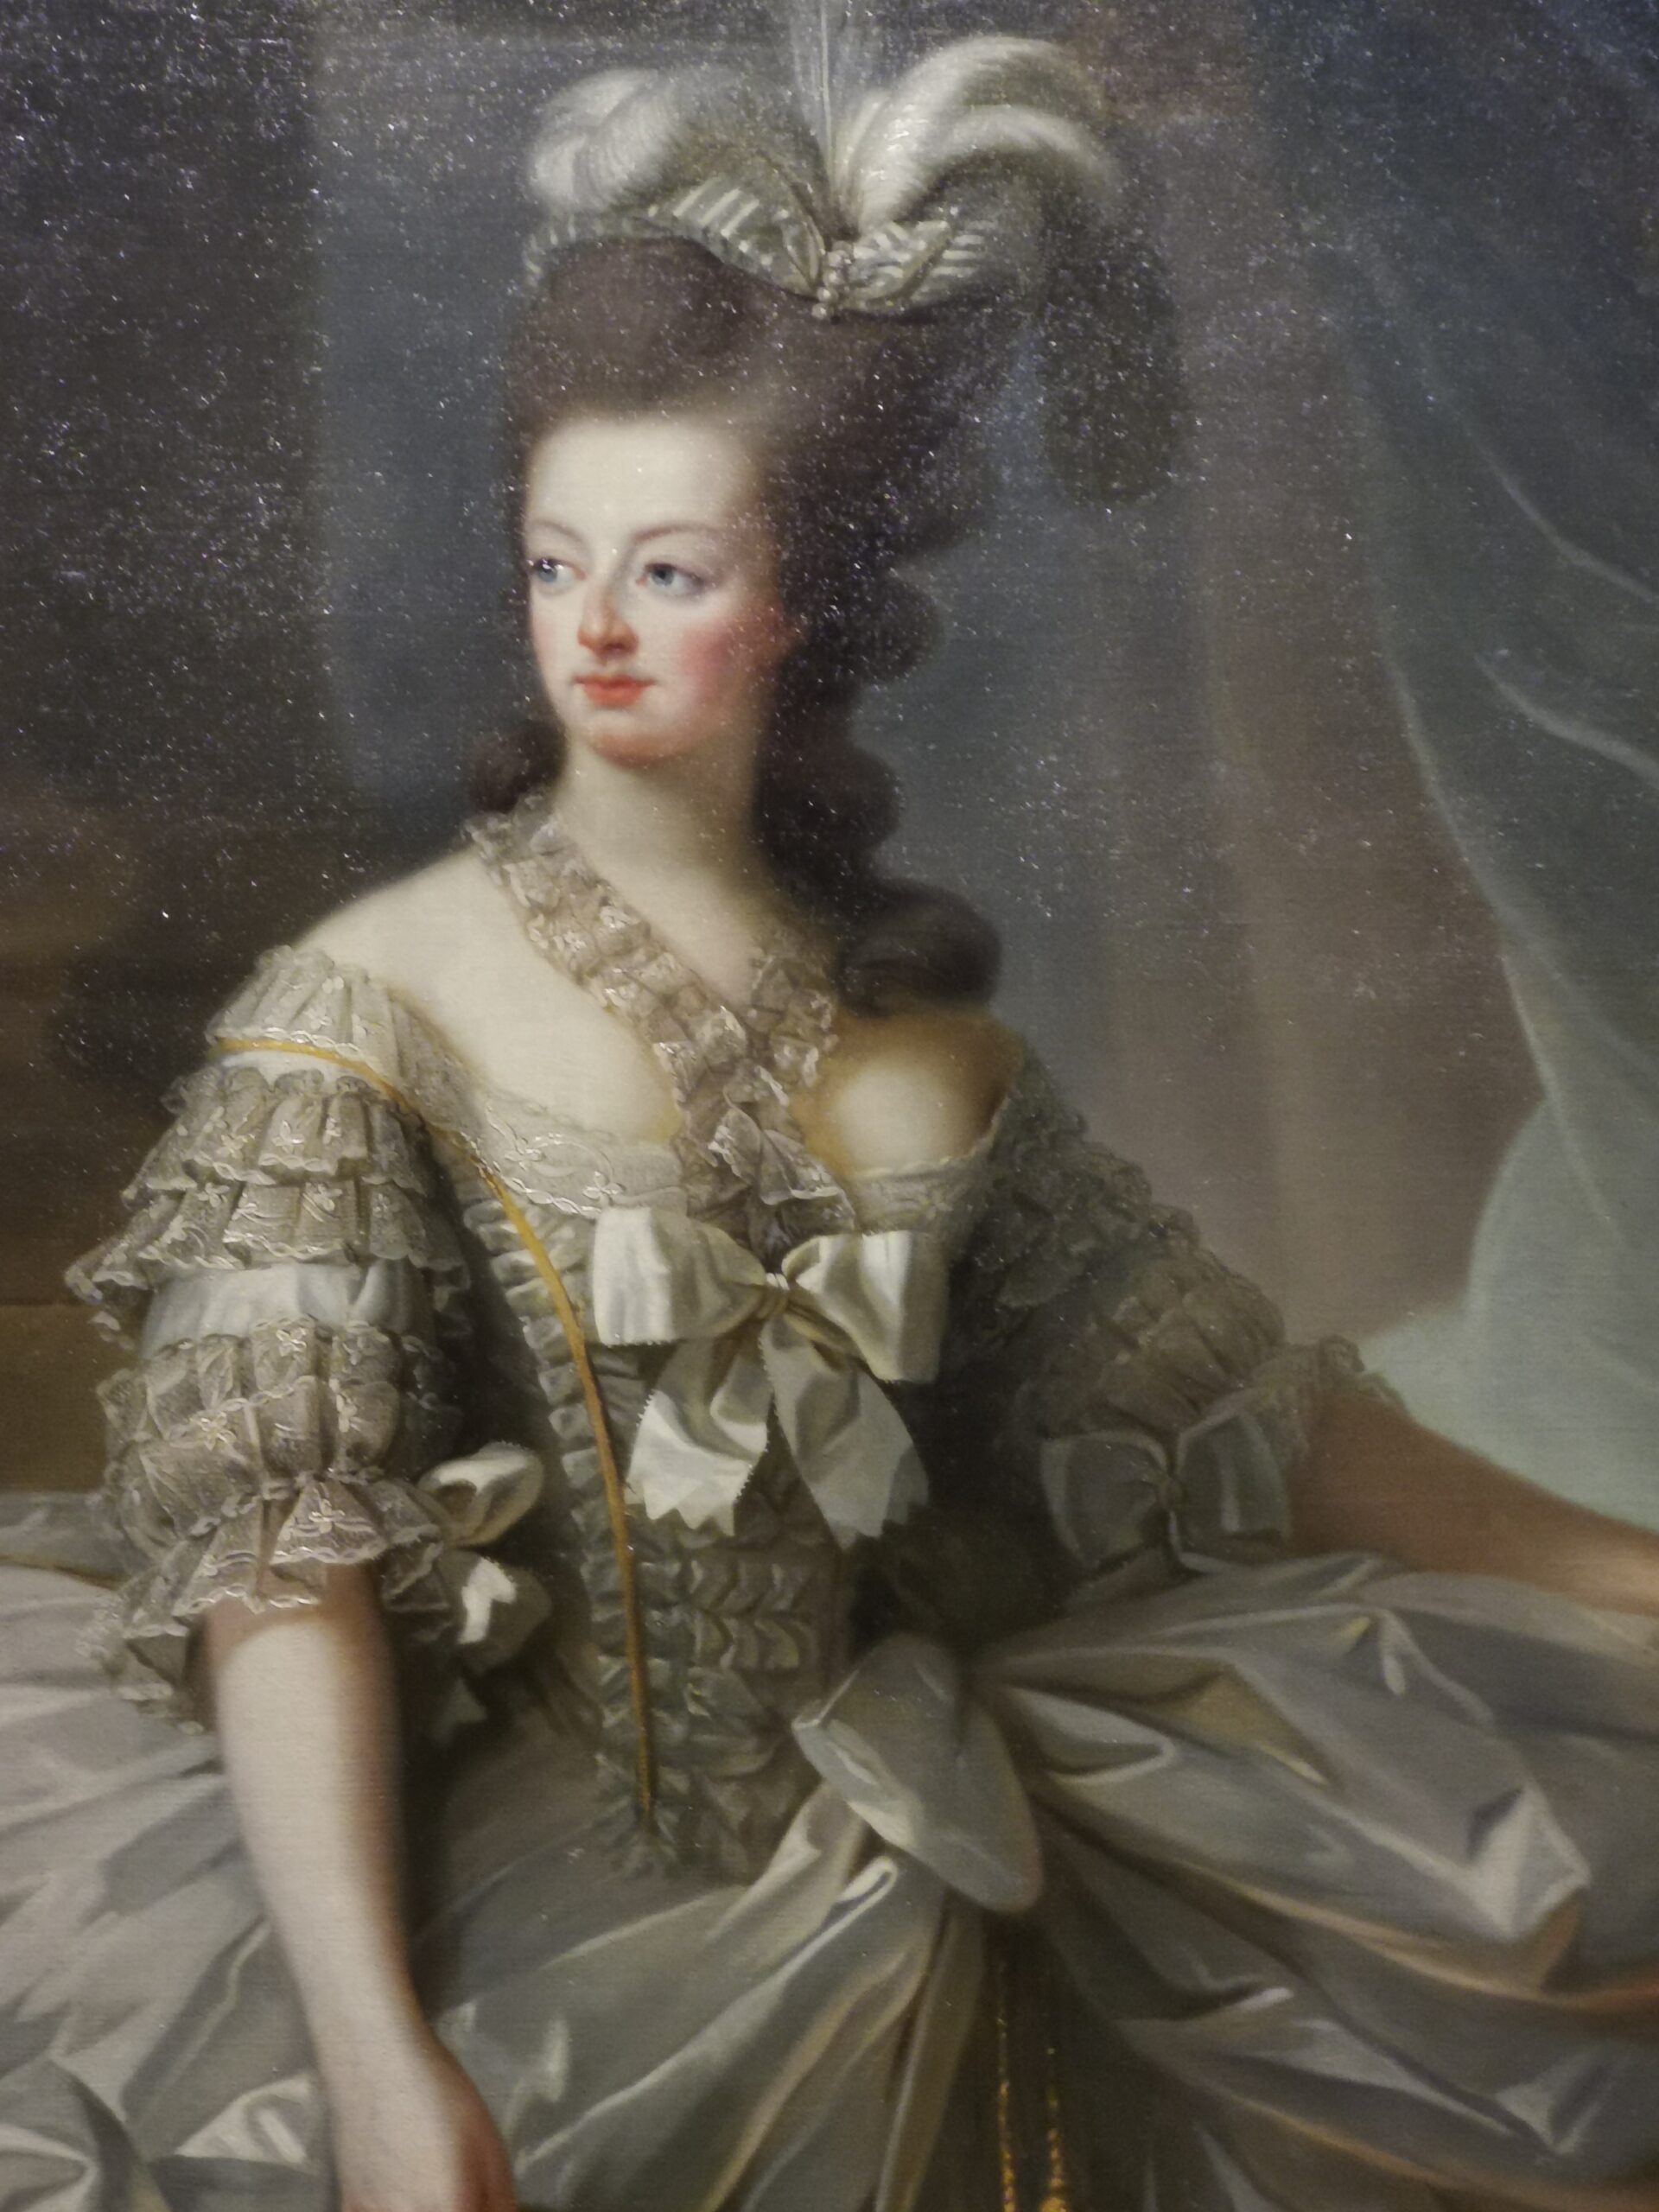
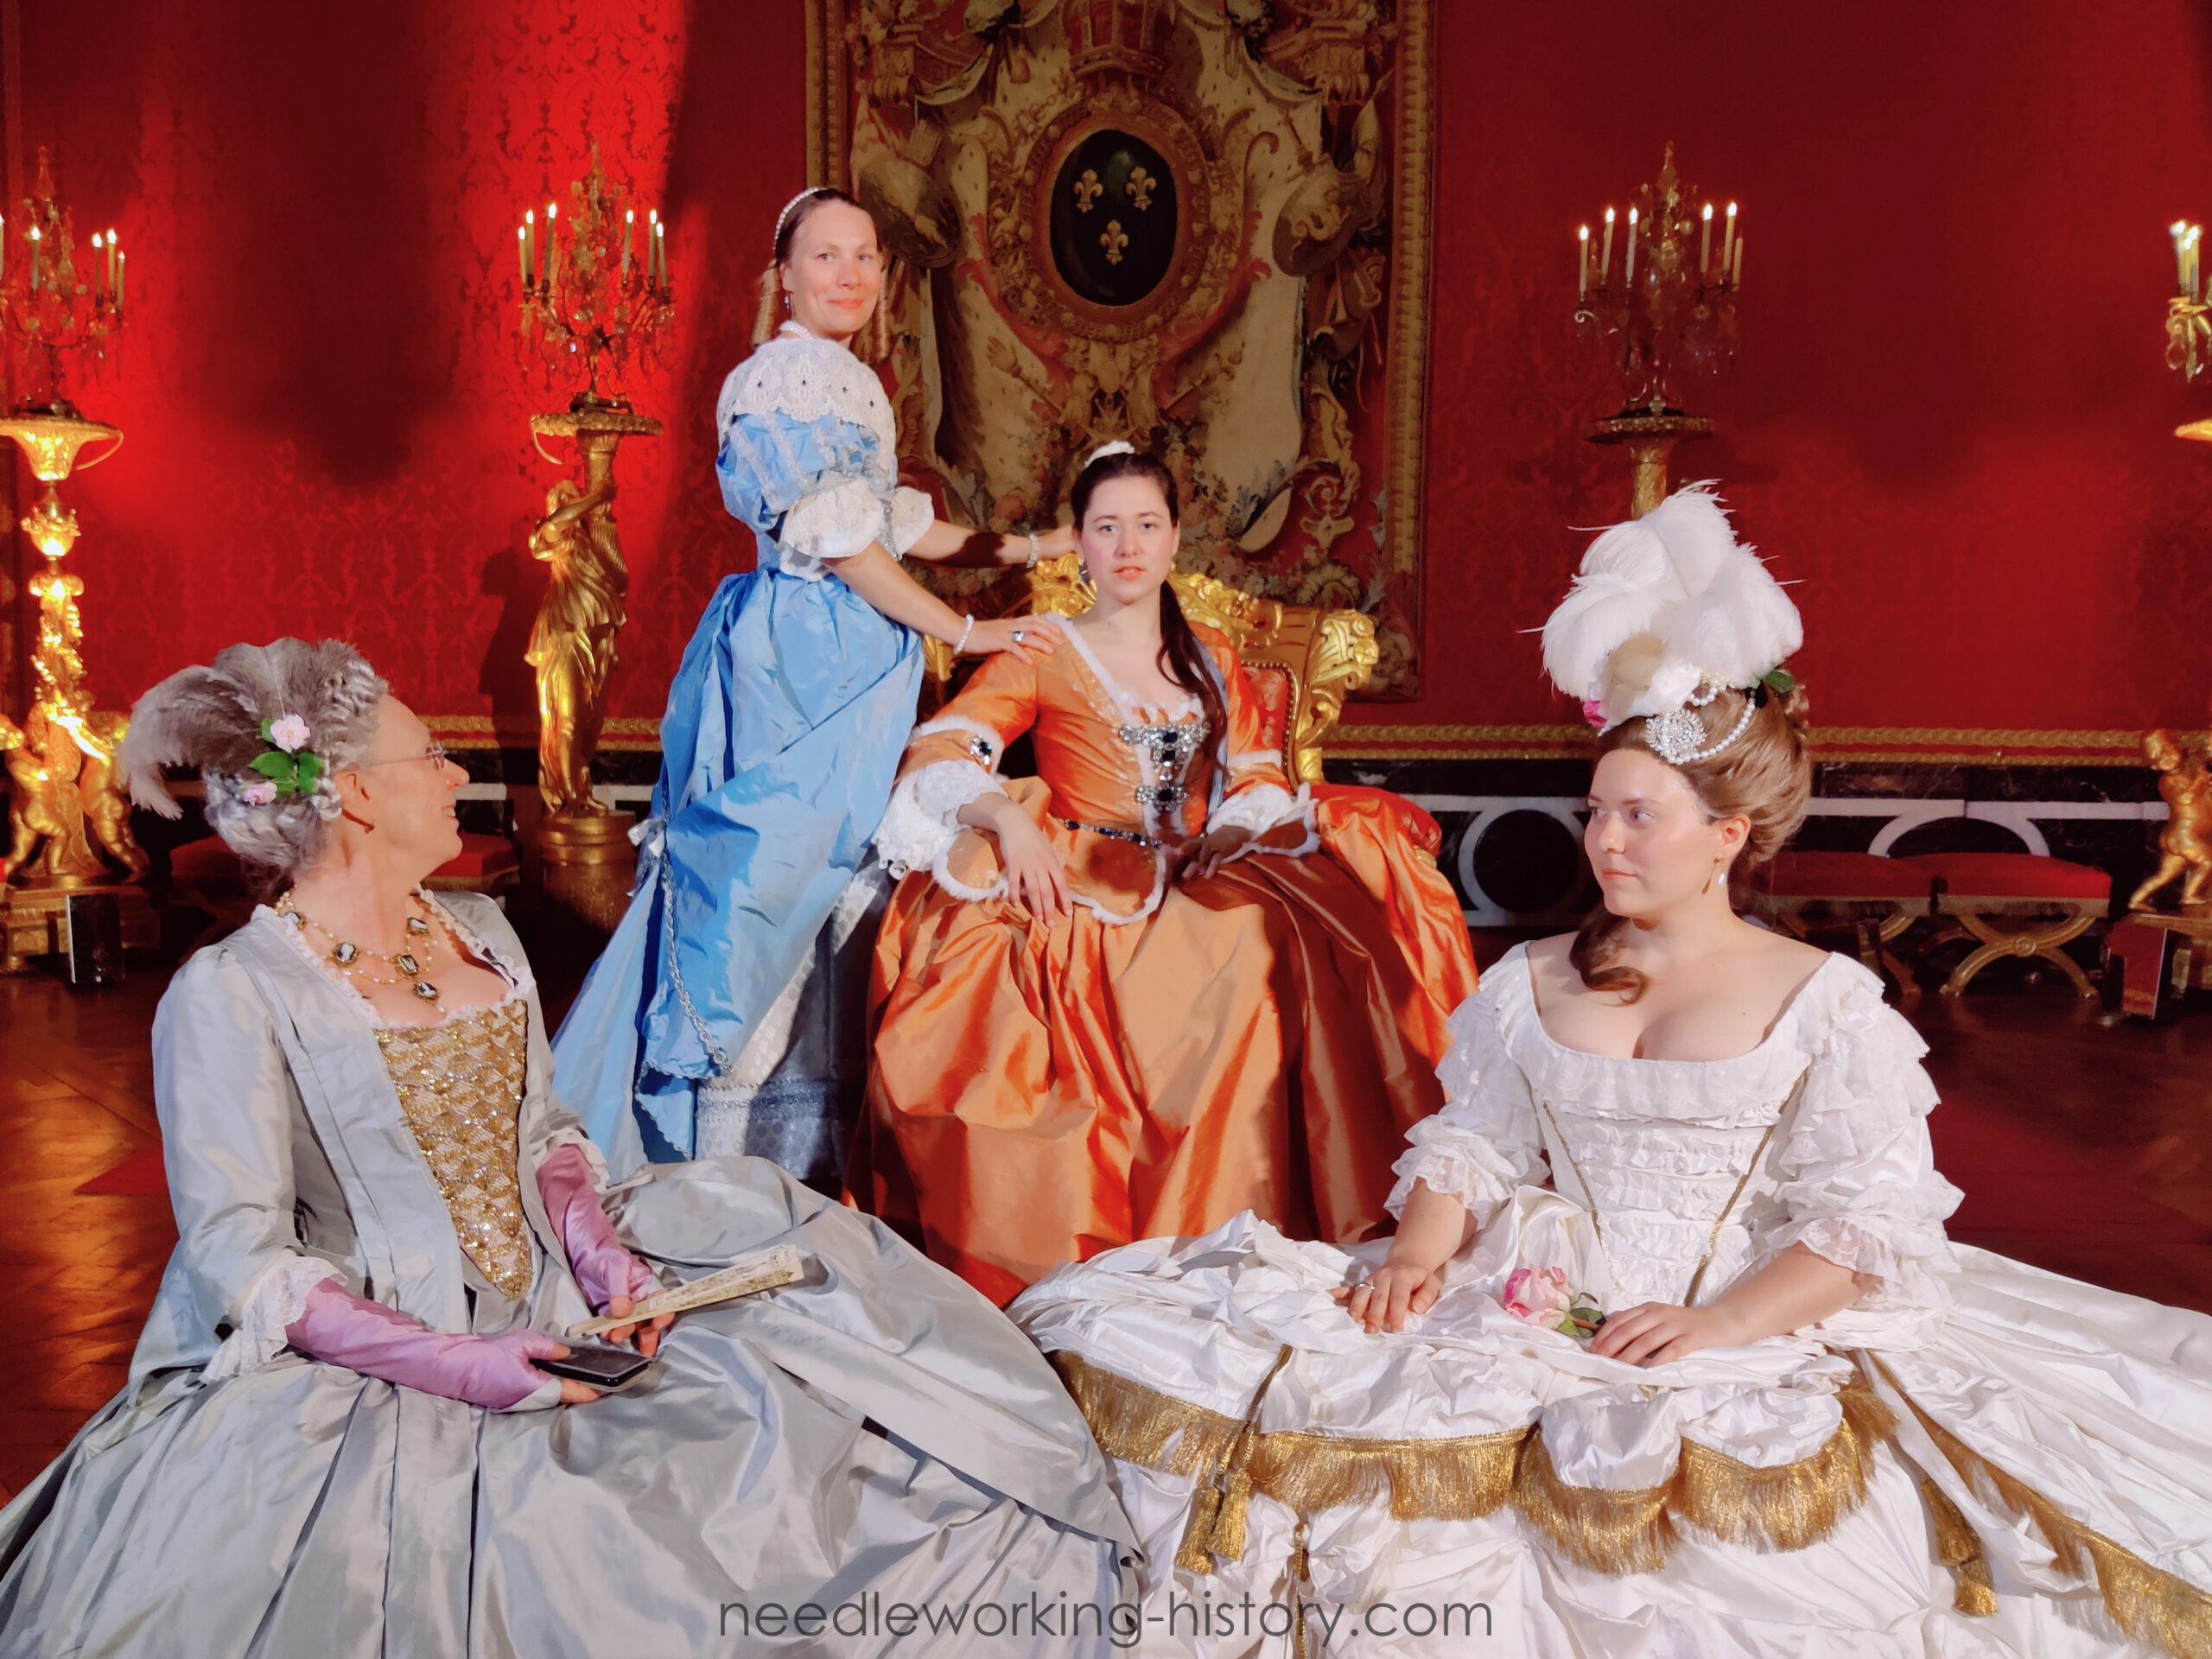
Marie-Antoinettes court gown is very famous for the amazing skirt. You have a grand panier and over it a lot of layers of fabric with details and trims.
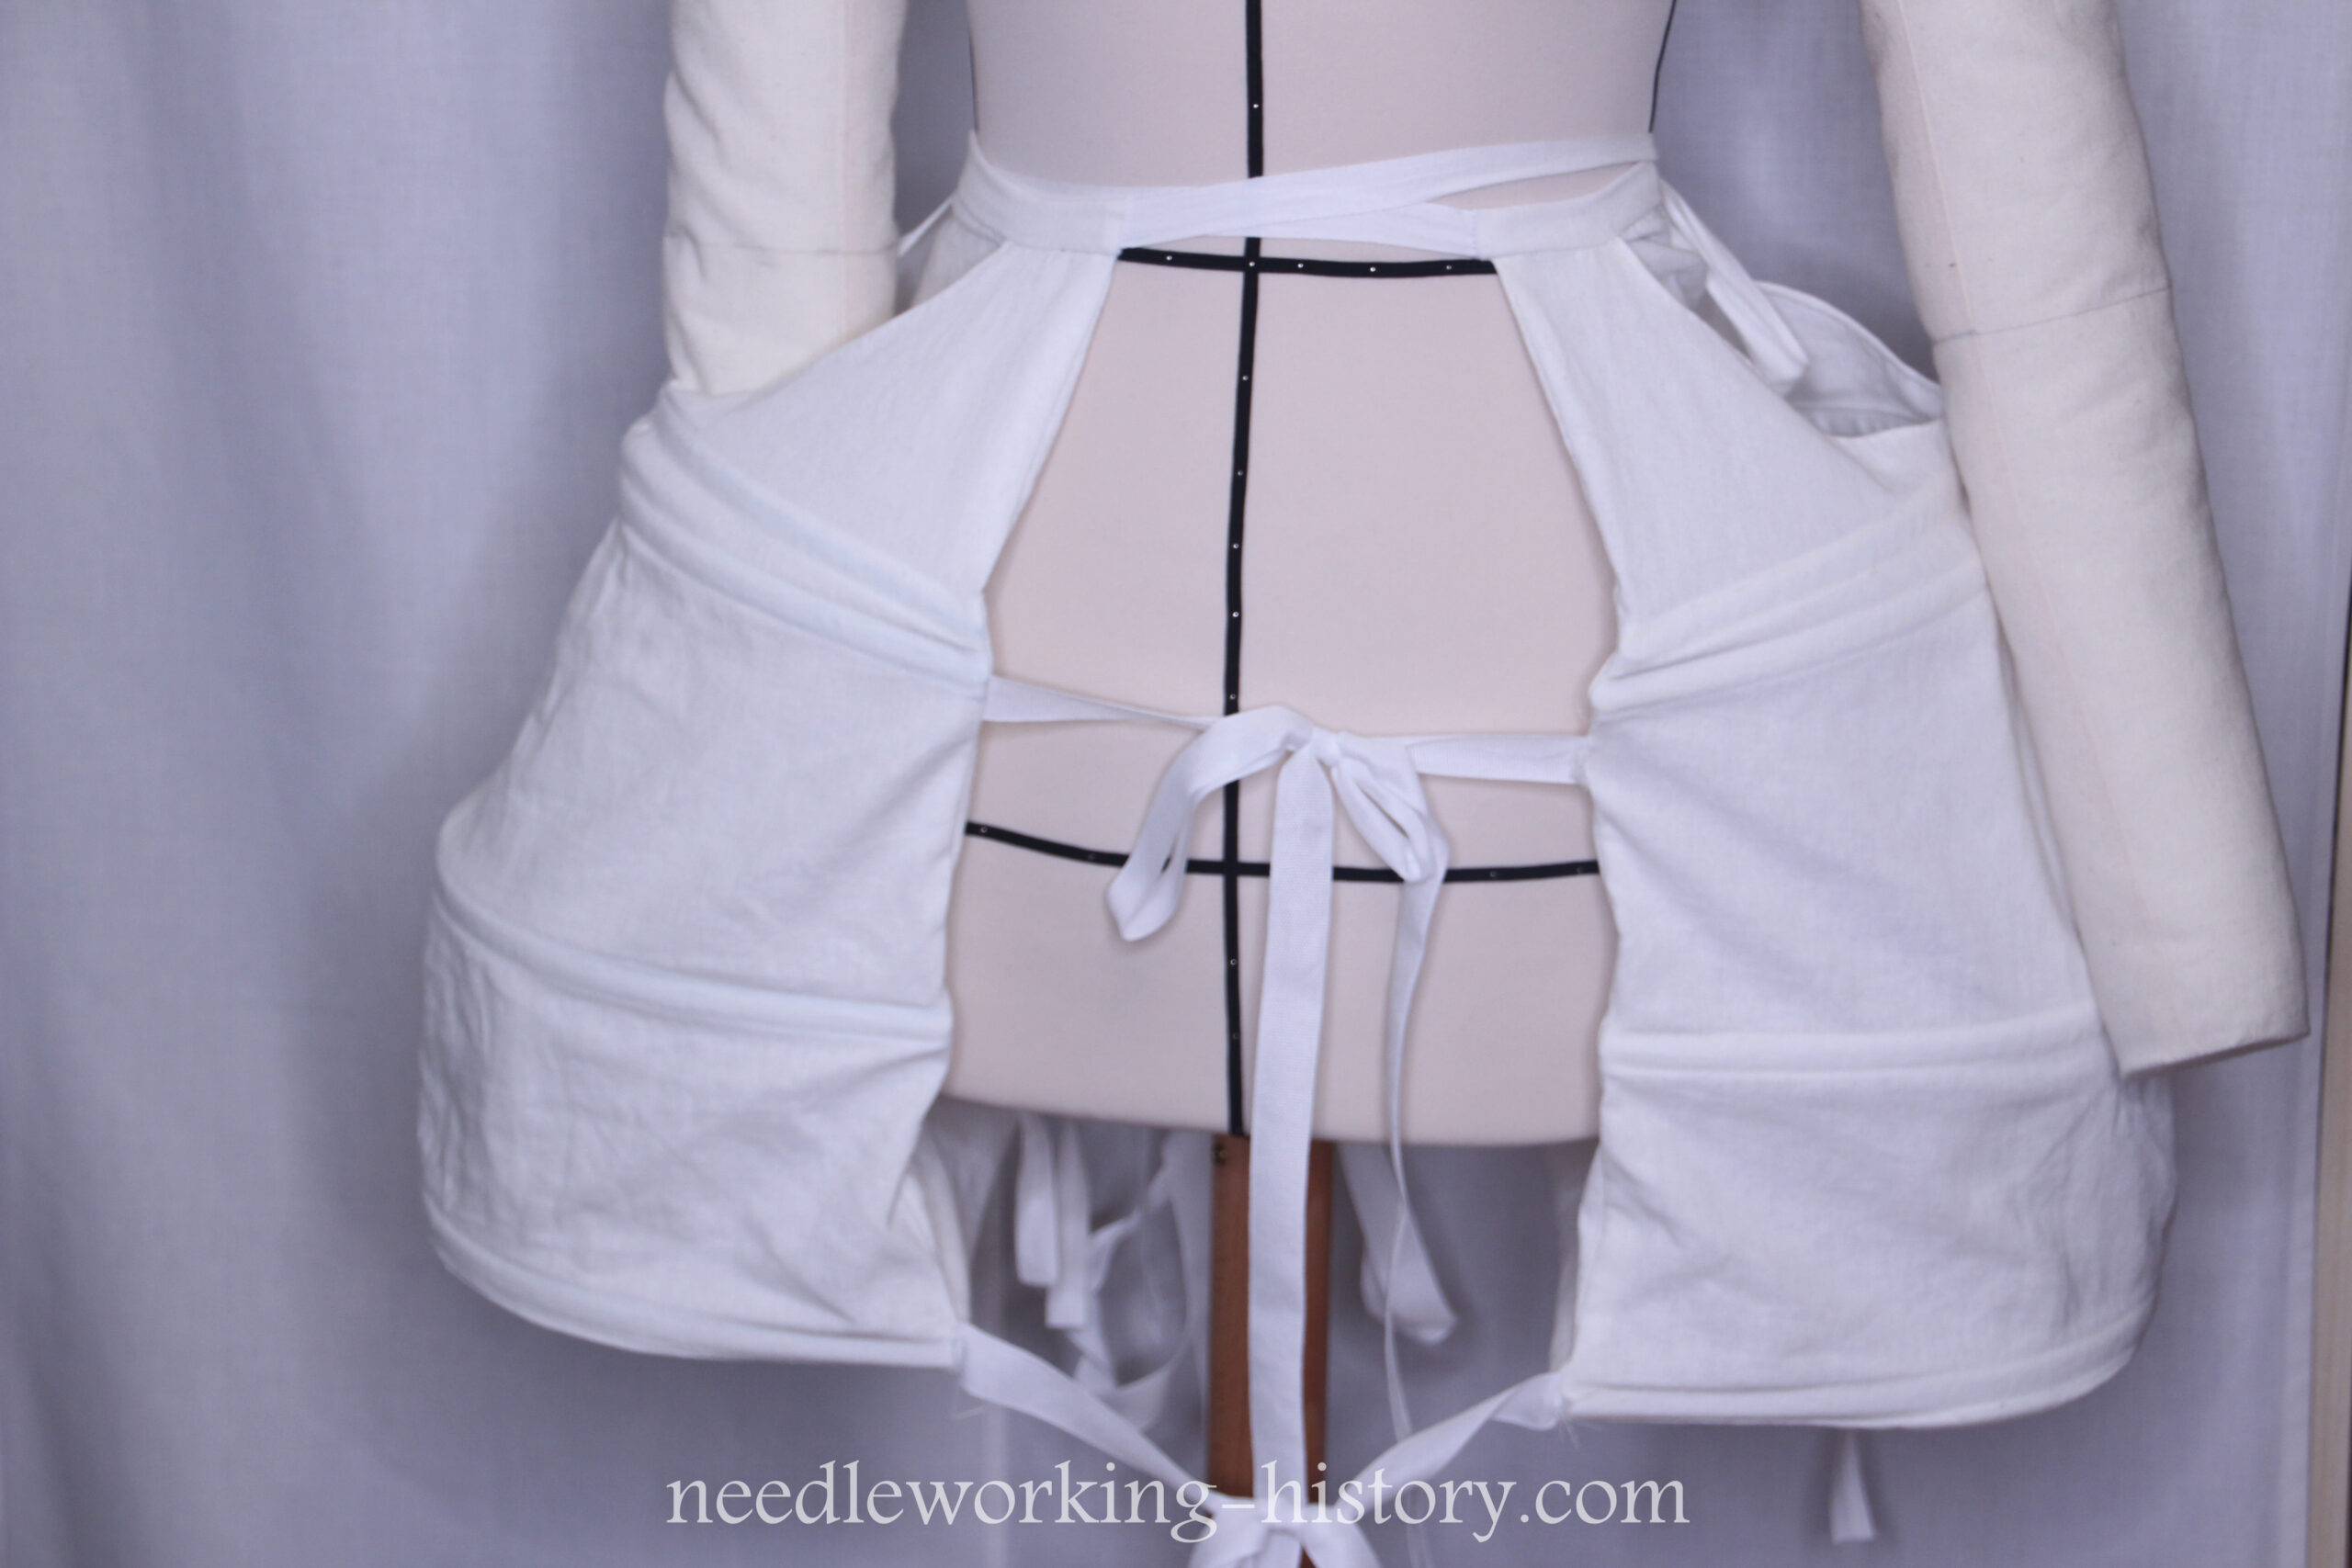
This is why the first thing for me to make was the grand panier.
I decided to NOT use a stage costume pattern but an authentic one which I found in Patterns of Fashion 5, where you have the complete pattern for Sofia Magdalenas wedding dress too!
This dress was also my starting point since it is one of the few surviving court gowns.
My base for the panier was the court hoop pattern but I altered the sides, to be more straight and I also altered a little bit the width of the pattern. Now in retrospect I know I would reduce the width of the panier even more since it still is pretty wide which you‘ll see in this blog post in the other pictures.
The panier was made with a cotton satin, a polyester tape and 13mm flatsteel. I‘d recommend using a tightly woven cotton tape instead of the polyester tape because mine is not strong enough.


When My panier lied on the ground a friend of mine said, she sees a koala bear…I didn’t and a few minutes later she showed me the picture and now I cannot unsee it! 😀


After making the panier I started with the first skirt layer,. This was when I started to use my silk taffeta.
I started by making the base of the skirt with cotton. The flounce is made with 8m of silk. On the front I sewed on a bit of silk because you‘re going to see this part of the base layer.


After the base of the skirt was finished it was time to start decorating the skirts. For this decoration layer I sewed a very, very long tube which I tied together under the bows. Here you can see in progress pictures while I was trying to find a good placement for the bows.


Next i was working on the last skirt part. An overskirt which had to be very puffy and voluminous.
I draped this skirt onto the skirt, trying to get as much fabric into it as possible. Since I hadn’t much fabric left, this was quite tricky but with an extra brain I was able to get it like I wanted it to be.


Last but not least I again had a pretty easy layer left. Another draped silk tube with a few bows on it. I sewed this tube directly onto the draped skirt so that it stayed where it should be and I also arranged it to conceal the pocket slits in all layers.


This is it for today. This post got longer than expected but I hope that I was able to show you how much work goes into a skirt like this and that in the end you don’t see all the work which went into it.
For me it’s always fascinating to see this. I was able to sew most of the things by machine and it took me a LOT of time but back in the 18th century things were sewn by hand and took even longer to finish. Those dresses were truly haute couture of the time and I respect all those seamstresses and tailors who created all those fascinating gowns. (Not to mention all the people who were working around those things like farmers, weavers, and so on!)
In my next post (which will be shorter) I’m going to show you how I made the bodice of the dress, how I finished decorating everything and also how the dress looks finished.
And don’t forget to check out my introduction post!


