A few days ago I was shown this pinterest pin of a corset which has horizontal seams instead of vertical ones like most 19th century corsets do.
There are some corsets from the 19th century with horizontal seams like the ‚pretty housemaid corset‘ you can find in Corsets from Jill Salen. Another example would be this 1860s corset from redthreaded which is based on an original corset from the V&A.
You also have surviving ribbon corsets where you have horizontal ribbons instead of vertical ones.
But now back to this corset! The moment I saw it was the was the moment I decided to make it. And since my other projects are annoying me right now I decided to start right away. 😀
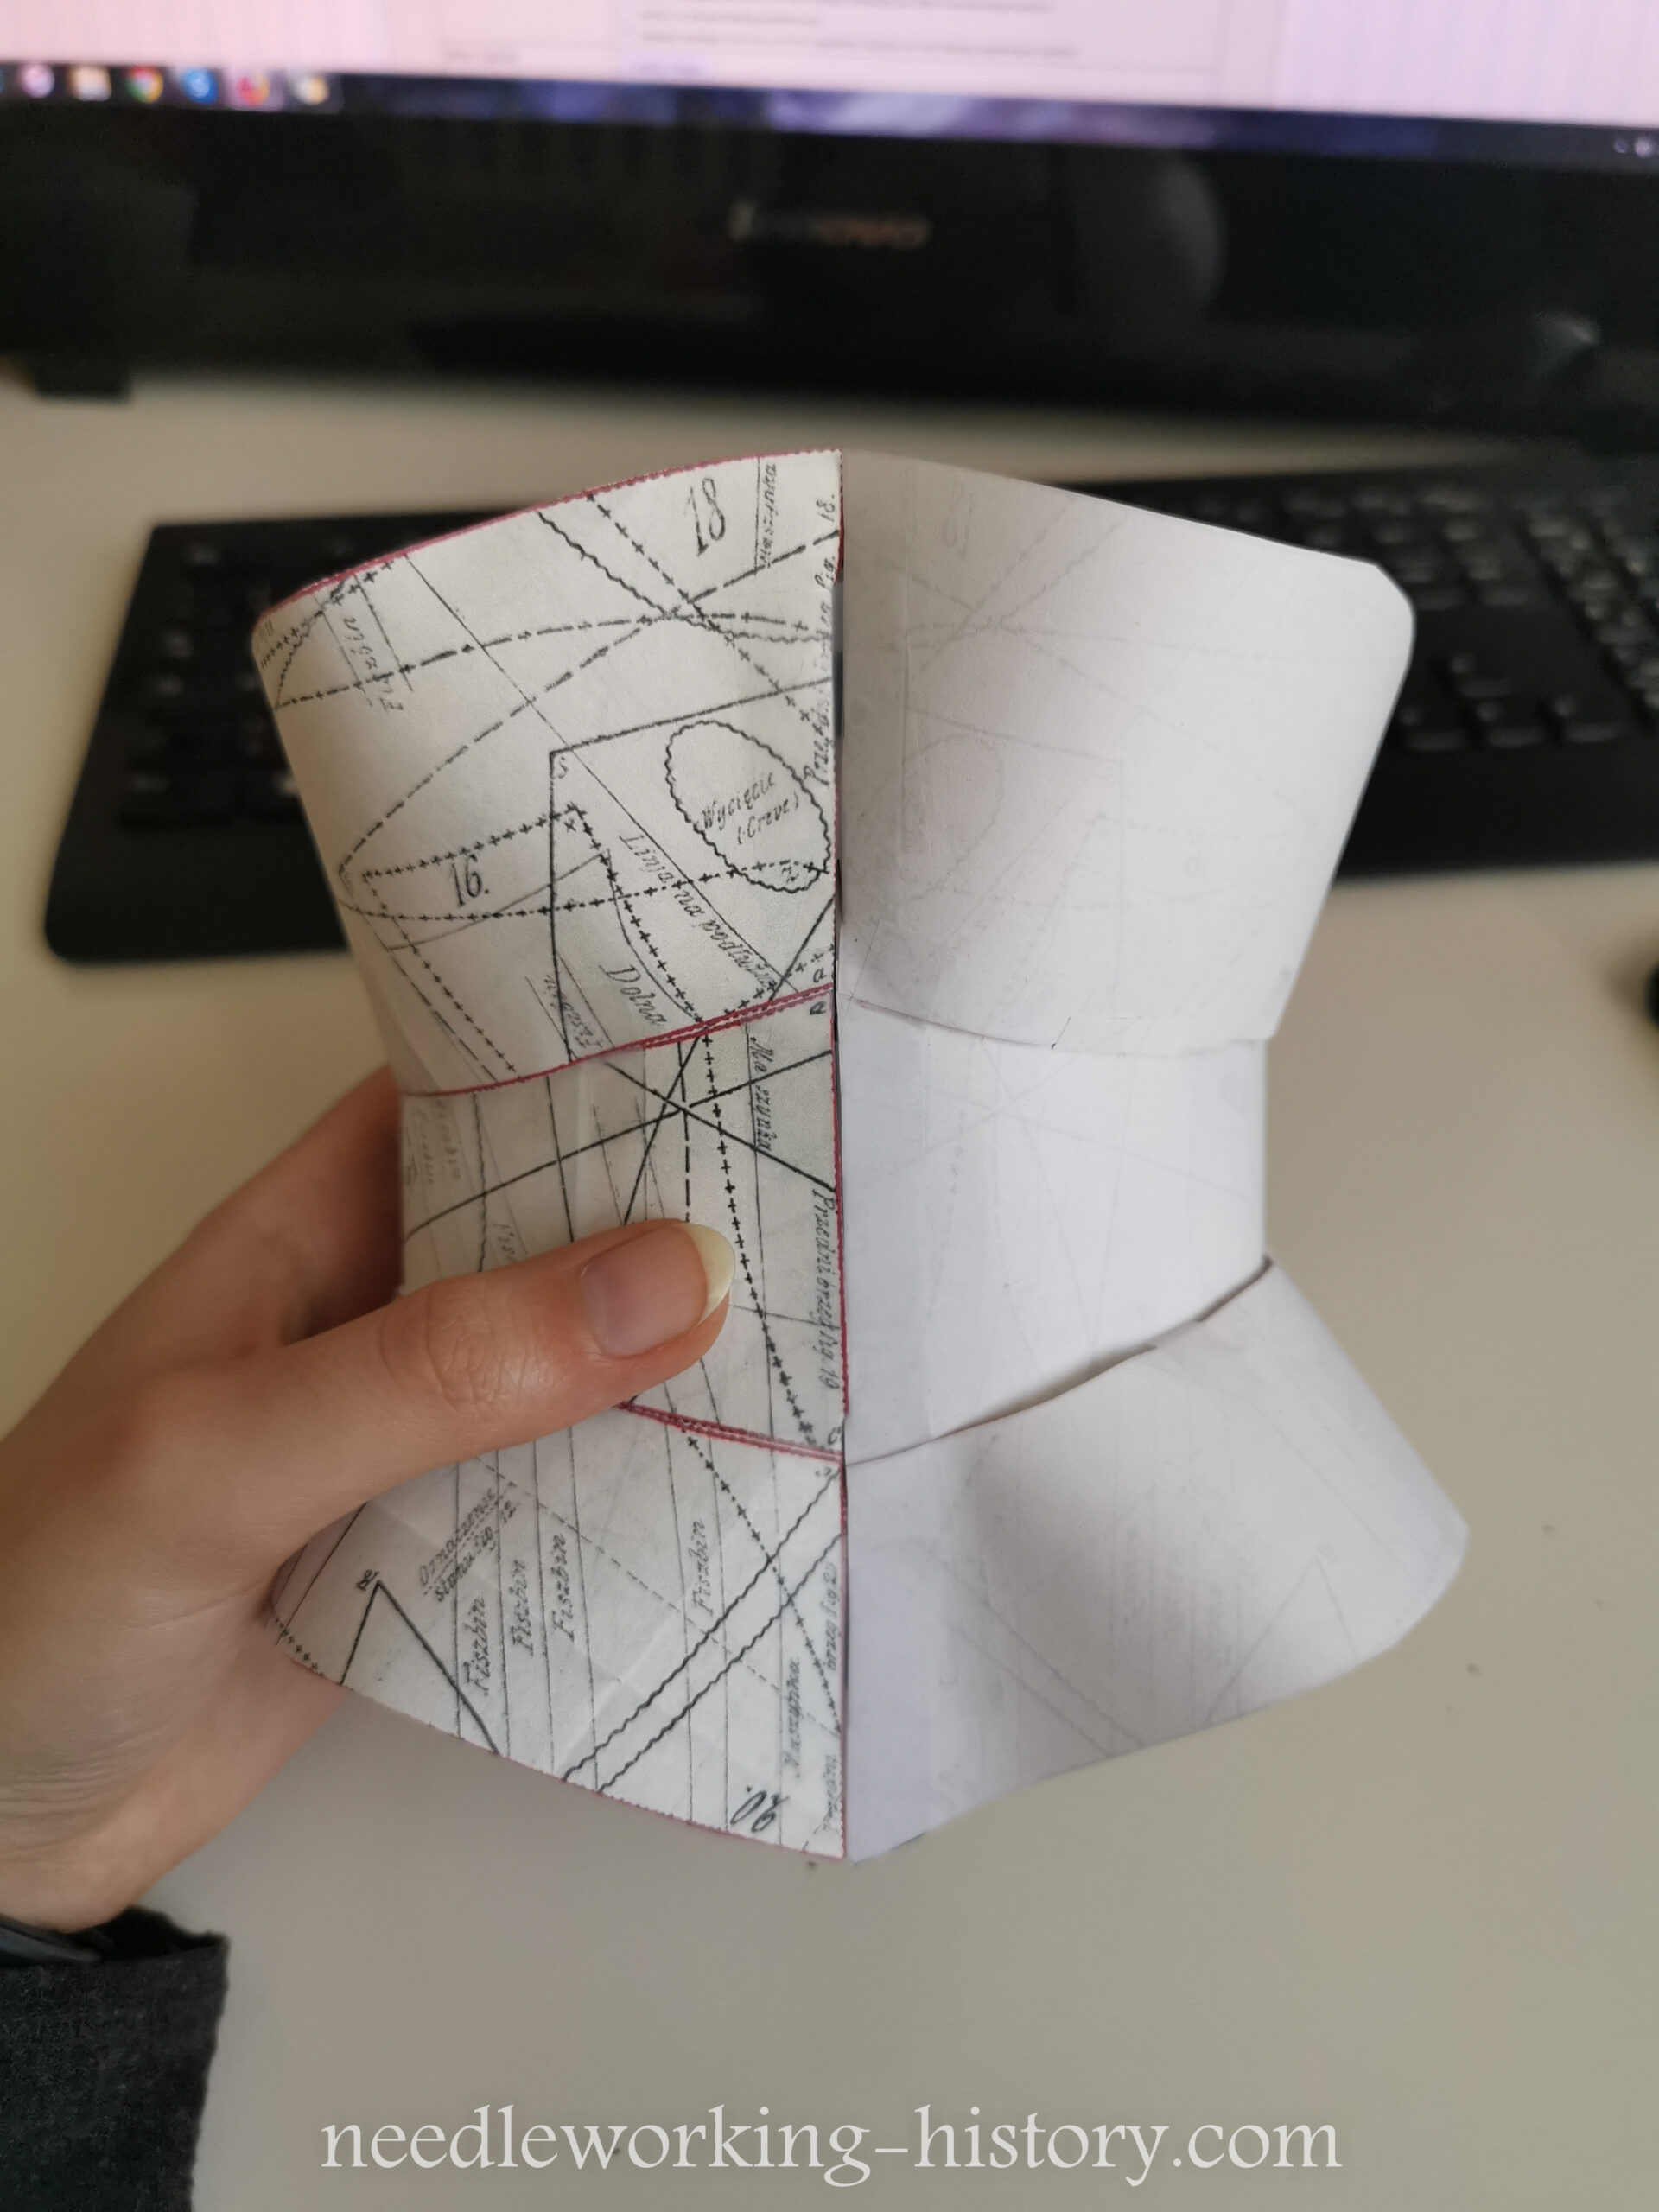
The first step for me was to make a paper model of it to see if the pattern is off somewhere. Most original patterns are somewhere a bit off which does not surprise me at all. You didn’t have computers with programs dedicated to pattern making. And when a magazine has to release a pattern sheet a month they surly were stressed because pattern making takes a lot of time.
This pattern did also have a little problem. The baleen channels on the back were not matching at all. The angle was completly off.


After doing the paper model I decided to print the pattern in full size. (It’s thankfully in full size on pinterest!).
I now took the measurments from the paper to get to know how big this corset will be.
Top edge (probably bust): 46 cm (92 cm)
Waist: 31 cm (62 cm)
Lower edge (probably high hip): 47,5 cm (95 cm)
Front length: 32 cm
Back length: 30,5 cm
Now I had the big problem: Where is the grainline? On the front? The back? Or is it supposed to be cut like it is drafted onto the paper?
Well. I couldn’t decided how I should cut it so I decided to cut it three times and make this project a research project!
I’m going to make all three corsets exactly the same. I will use straight cut fabric to use in the front and back closure and will use the same steel and the same sewing techniques.
Then I will try the corsets on and hope that they fit me. If not I will ask a friend and interview her which corset feels the best.
And now it was time to get started! I did cut the corset three times, each one with another grainline and marked all the channels with chalk.
Then I started stiching the corsets together – I sewed all seams which took not much time at all compared to other corsets with 5 or 6 seams per side. It was a bit difficult to sew rhe rounded edges with my stiff coutil fabric, but I can imagine, that even a sewing beginner could do this if he or she is careful!
And now I had to wait because I hadn’t enough busks and steel at home. I ordered as always from Vena Cava Design which are based in the UK. (I hope I will be able to still order from them after the Brexit happened..they have an amazing customer service and have very fair prices.)
Next time I will show you how I treat the seams, set in the busks, make the back closures and maybe start with the boning!


