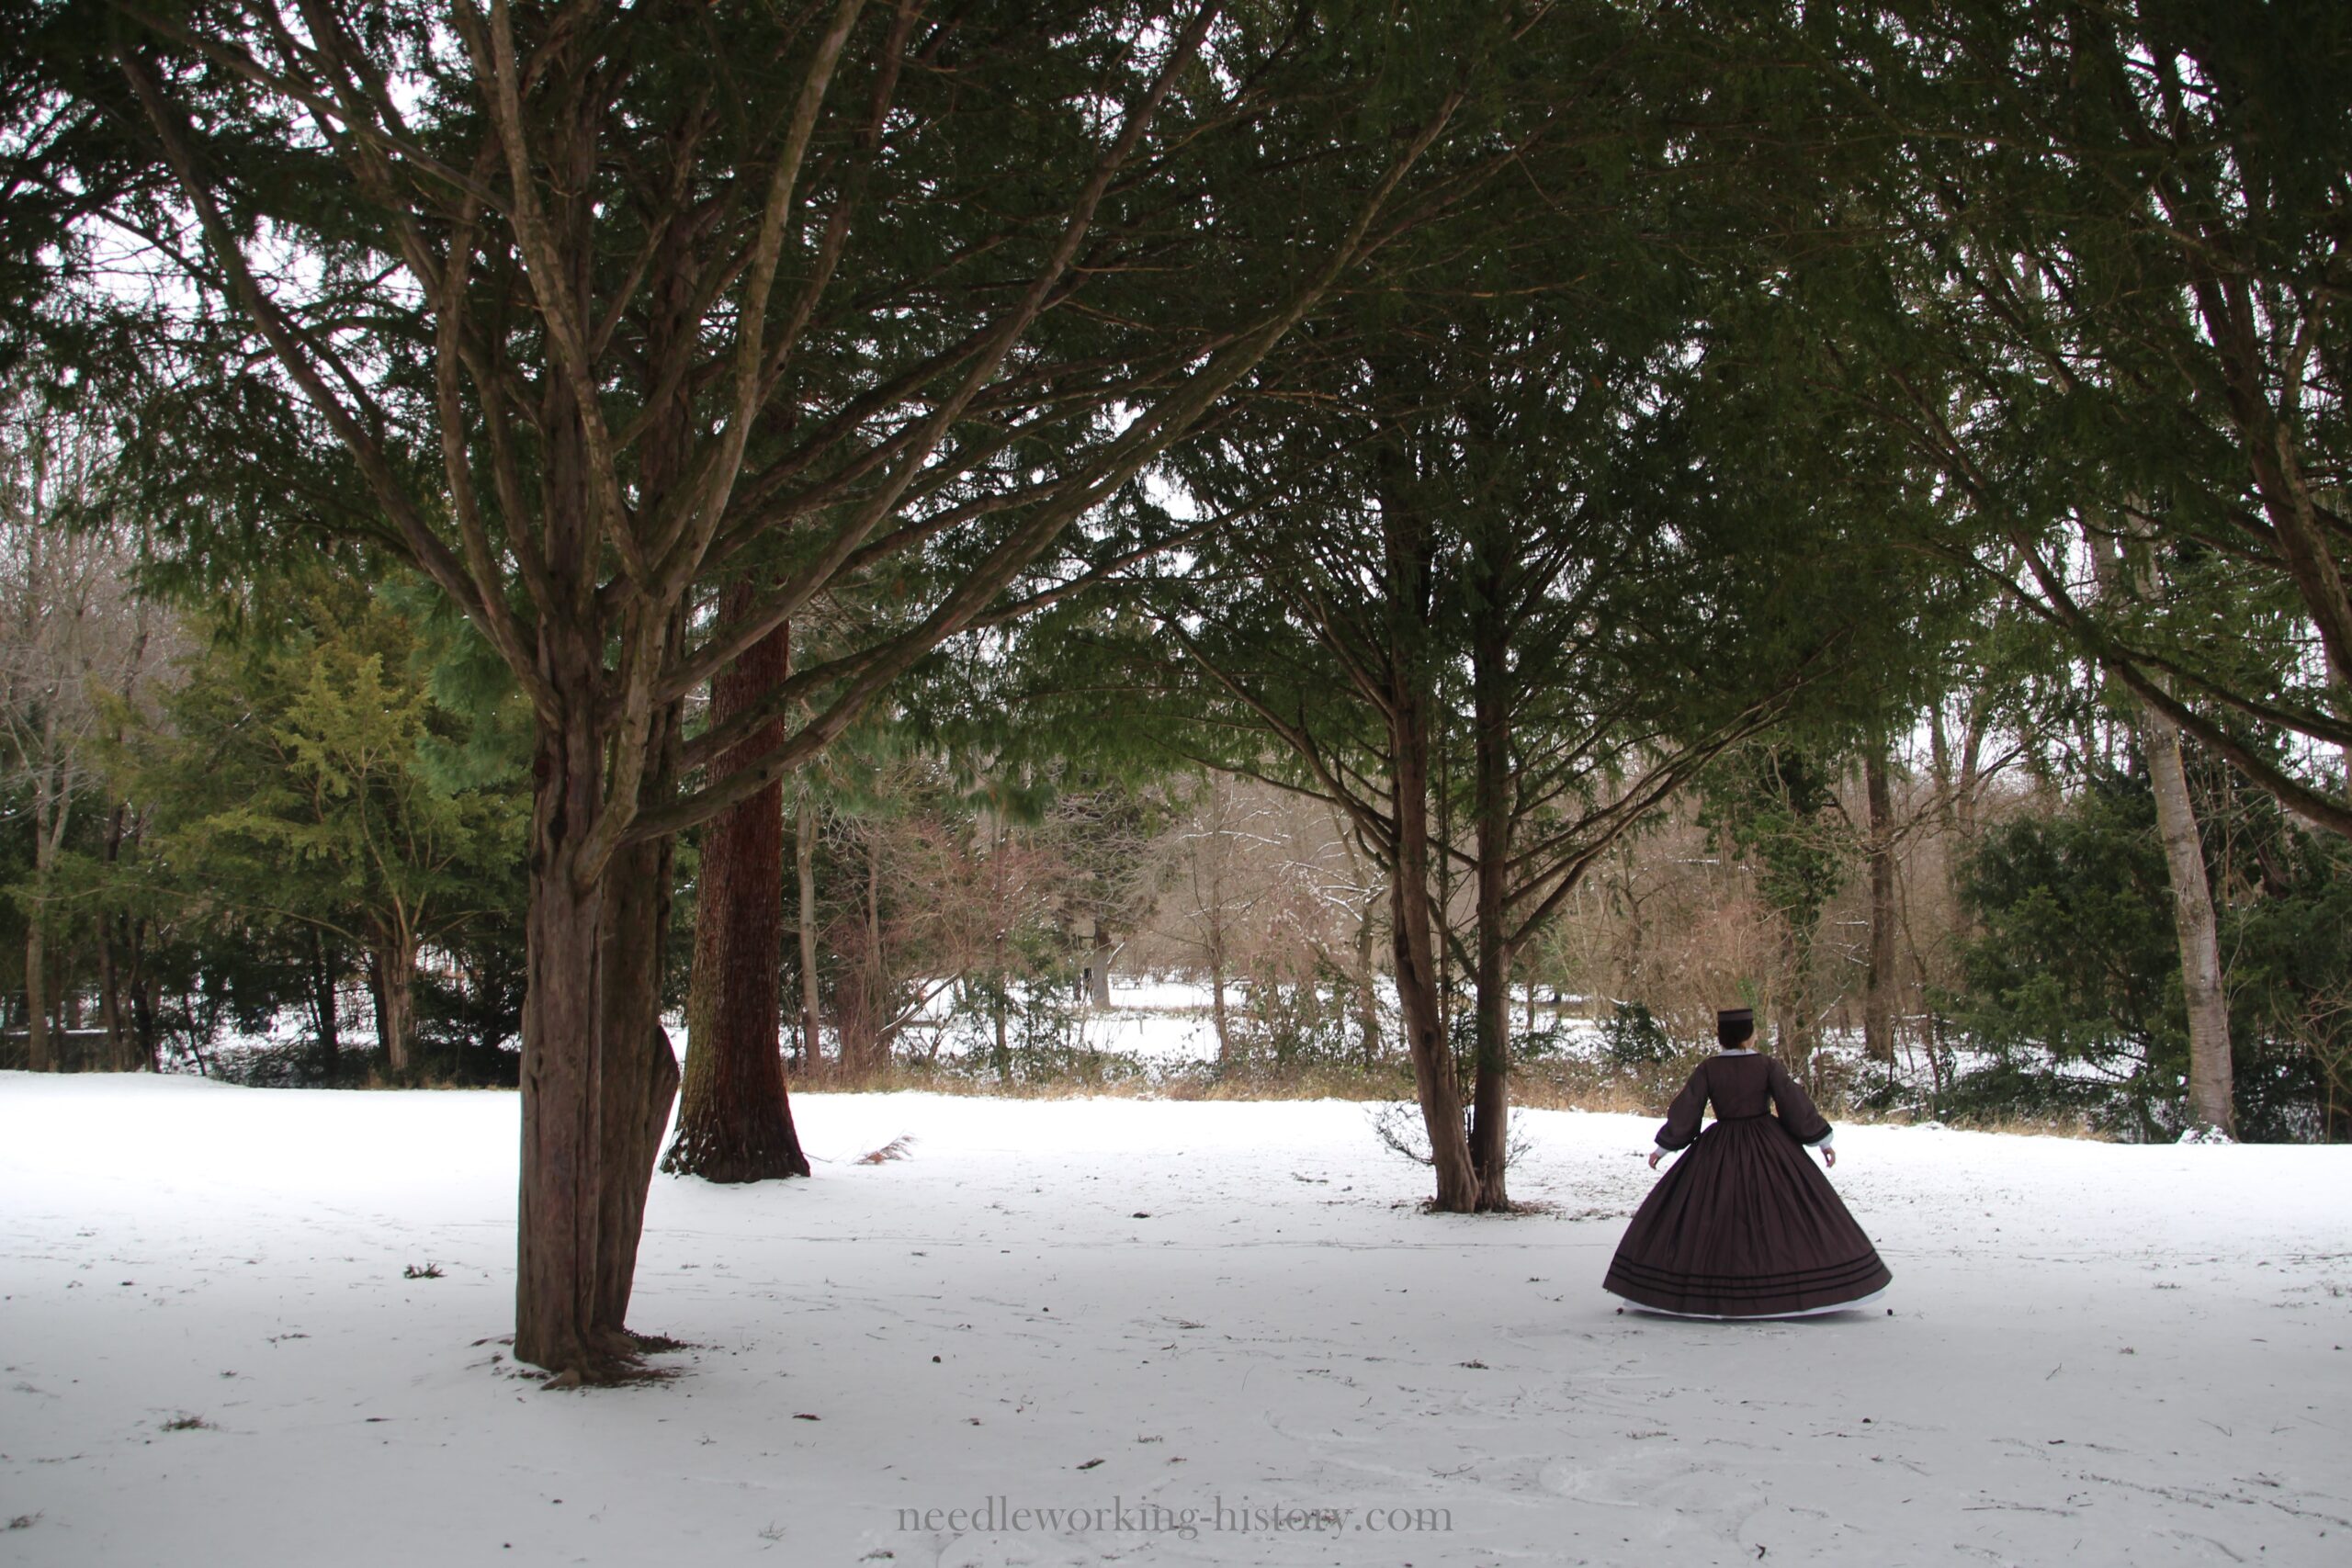
For the so called „Sommerfrische“ I planned with a costuming friend this year, I wanted to make a late 1850s/early 1860s crinoline dress.
Well, I wanted to look like a big fluffy cake and I knew right away, that I wanted to have flounced skirt with three rows.
I also wanted to try to use as much fabric from my stash as I could for at least the undergarments.
After a lot of research and not finding a particular dress to recreate, I started with all the underpinnings, to get at least something done.
Since I’ve never made something for the 1860s I needed everything!
A chemise, a cage crinoline, a petticoat and of course a corset.

I started with the cage crinoline and based it on the Truly Victorian 1858 Round Cage Crinoline (TV141). But since I wanted to look like a cake, I increased the circumference from 320 cm to 380 cm.
This was done relativley quickly, but I needed new flat steel which took a while to arrive.
My
father helped me cut the steel and put it together with Duct Tape. I
didn’t bother to sew extra boning channels for the hoop wires.
Nobody is going to look under my skirt to see if I used authentic
methods or not. Since I didn’t have a lot time for the whole project,
I didn’t want to take to much time on this part of my outfit and
instead use more time on the visible parts of my dress.

After finishing the cage I started with the petticoat. I found a light
cotton with a little bit polyester and decided to use this as it
wouldn’t touch my body and I wouldn’t use it later either.
I used 3 whole widths of it to make cartridge pleats I sewed onto a waistband I made with the same fabric.
For the cartridge pleats I used the instructions from historicalsewing because I’ve never done them before.
The
instructions were super easy to understand and I fell a little bit in
love with those beautiful tiny pleats. (I need to find new projects
where I can use them…a lot! If you have ideas..hit me up :D)
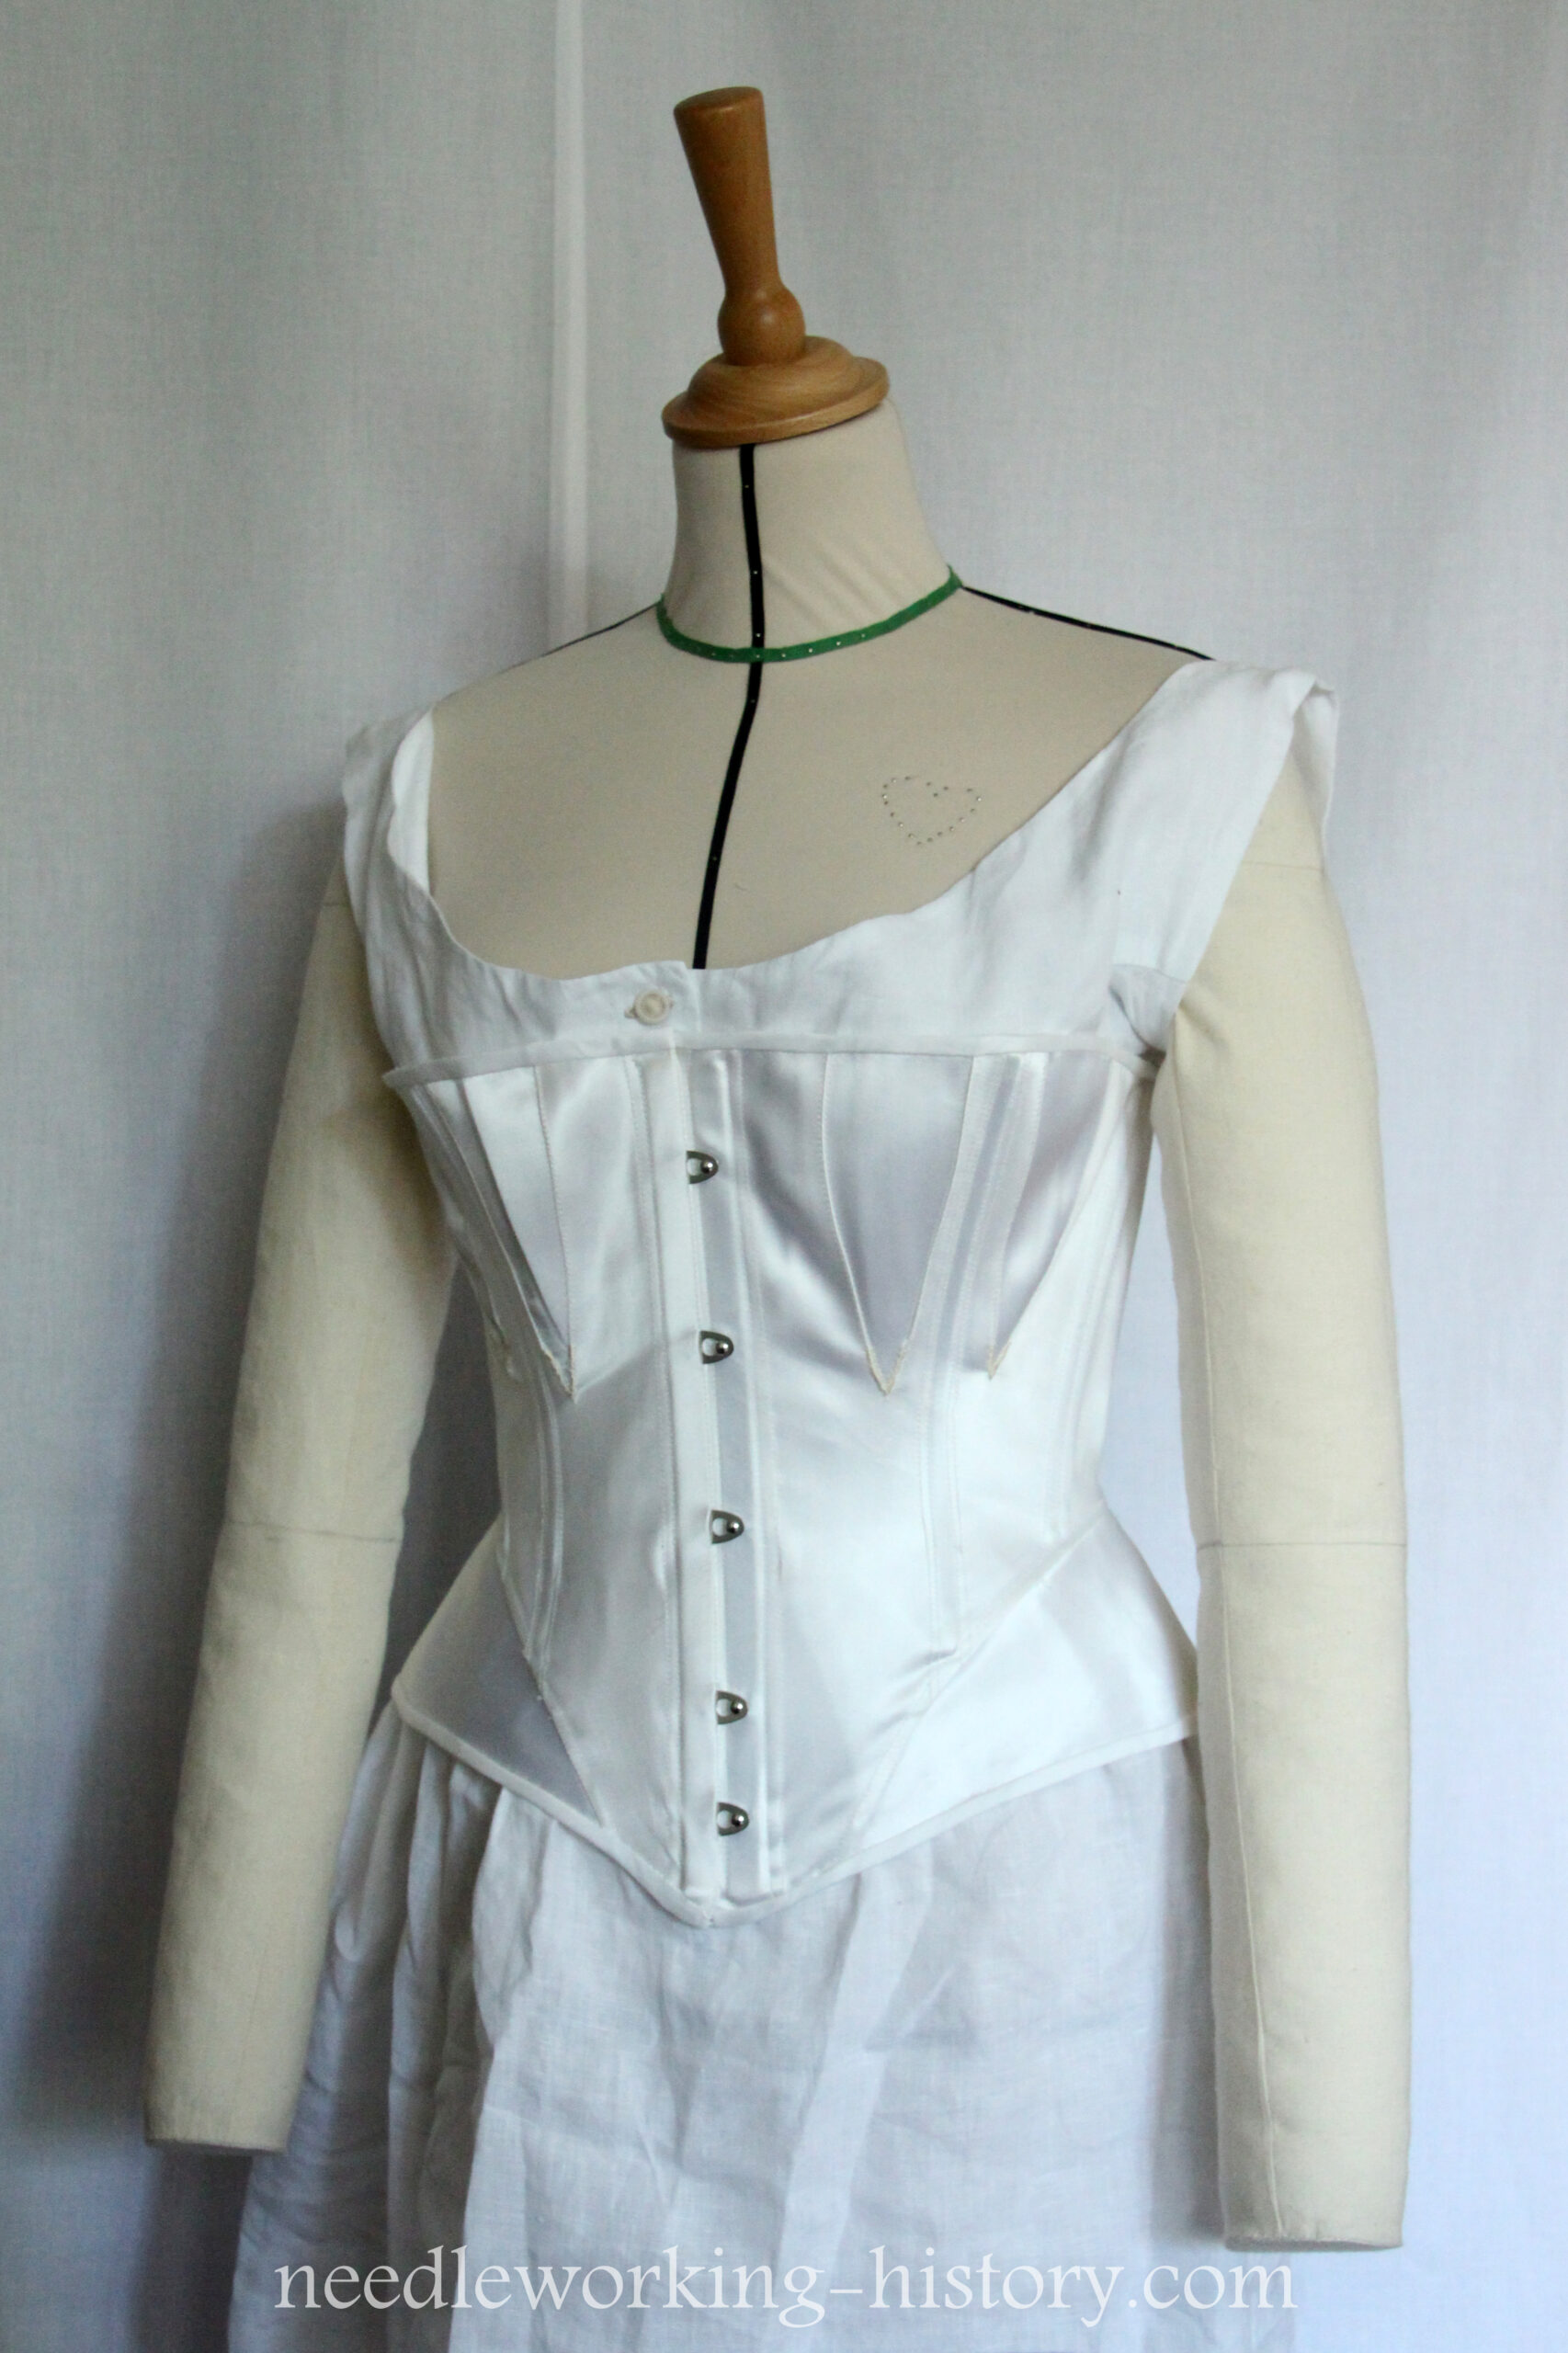
All the underpinning skirts were made and I started with the corset and the chemise. After drafting two patterns and making the corresponding mock-ups I decided to buy a corset pattern, because I was not satisfied with my corsets at all. I already tossed the patterns and mock-ups because there were so upsetting…
Since I plan to write pattern review for the corset, I’m going to leave this out for now and give you more details on the corset later. So let’s talk about the chemise.
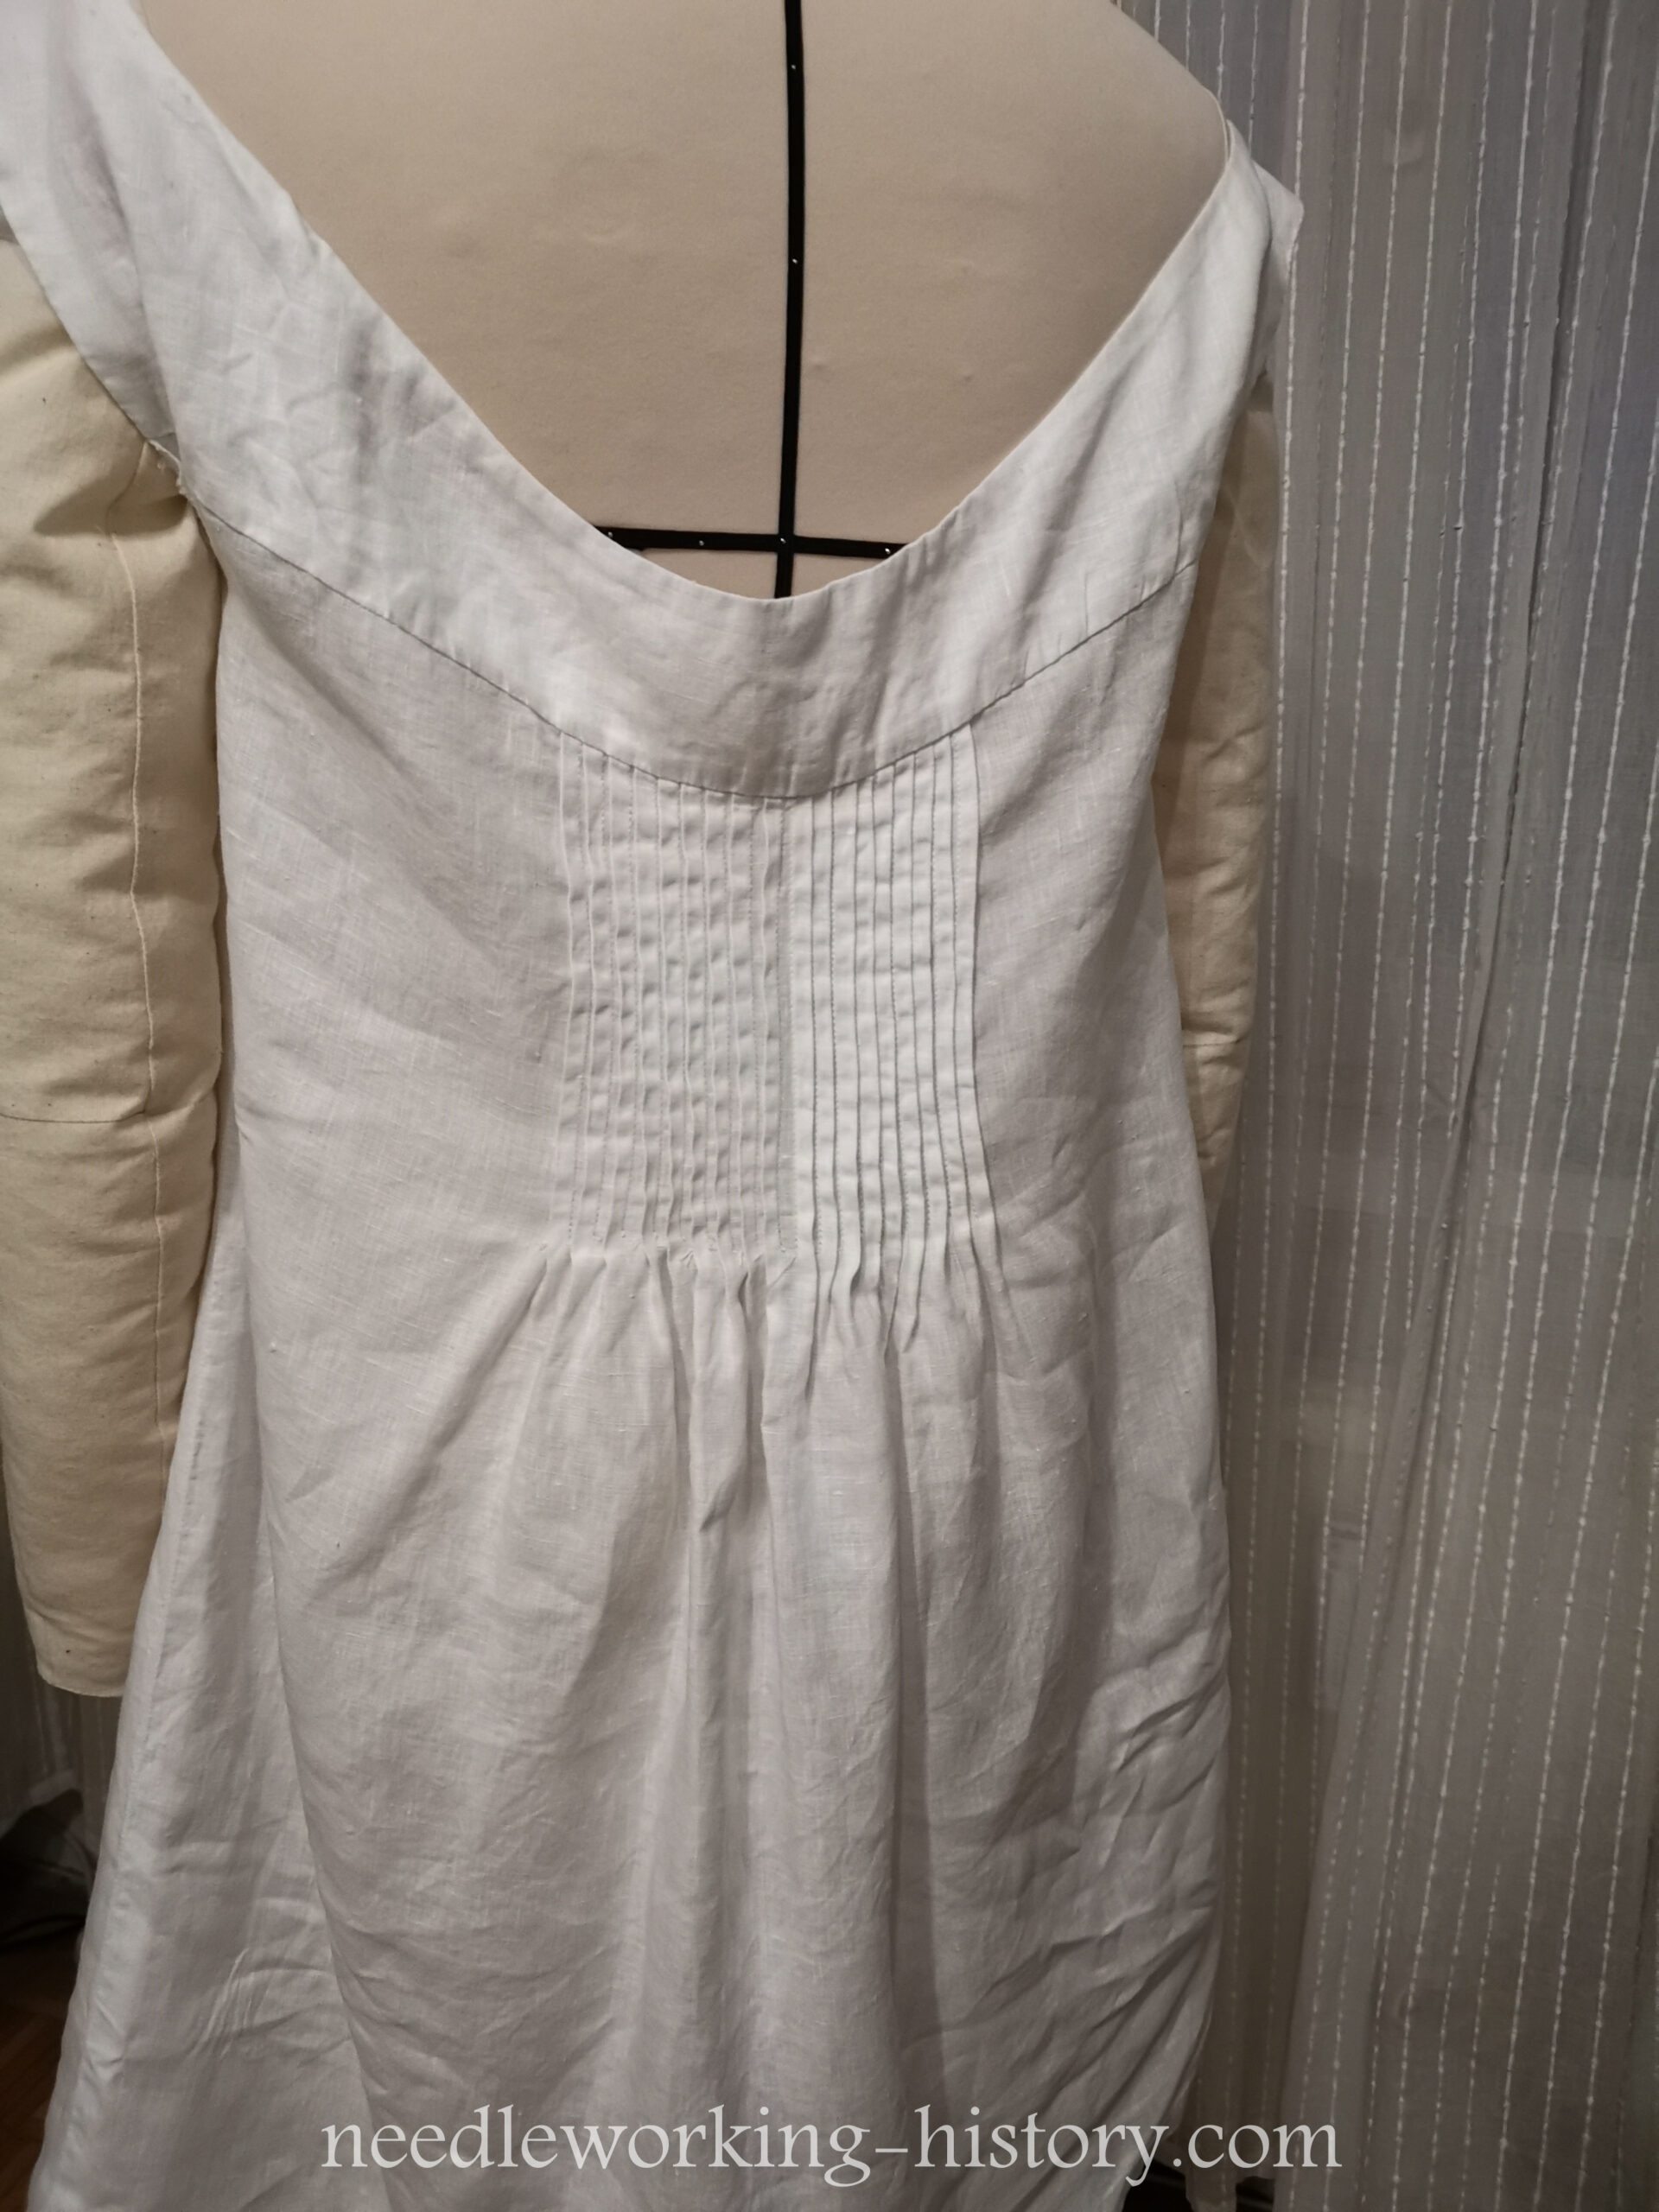
After searching on pinterest for a while (a very long one because it’s pinterest and it is addicting) I decided to pattern a chemise myself. I didn’t want to pay a lot of money for a simple chemise and found a diagram in Peterson’s Magazine 1860. I took it as an inspiration and drafted a simple yoke free handed.
After sewing a simple mock up of the yoke I made the armholes smaller and started cutting my fabric.
I found a fine white linen in my stash I got from Rene Reuver who sells his fabric at a fabric market in germany. When I bought it I planned on making historical underwear out of it so the fabric finally had it’s time to shine


The sewing was pretty easy. I used my sewing machine but made most of the visible stitches by hand to achive a more period look and feel. The tucks are sewn by machine, I was practicing them for modern projects I want to make later this year.
I handsewed the button holes in a cream 100% silk buttonhole thread and sewed on cream colored thread buttons to close the chemise in the front.
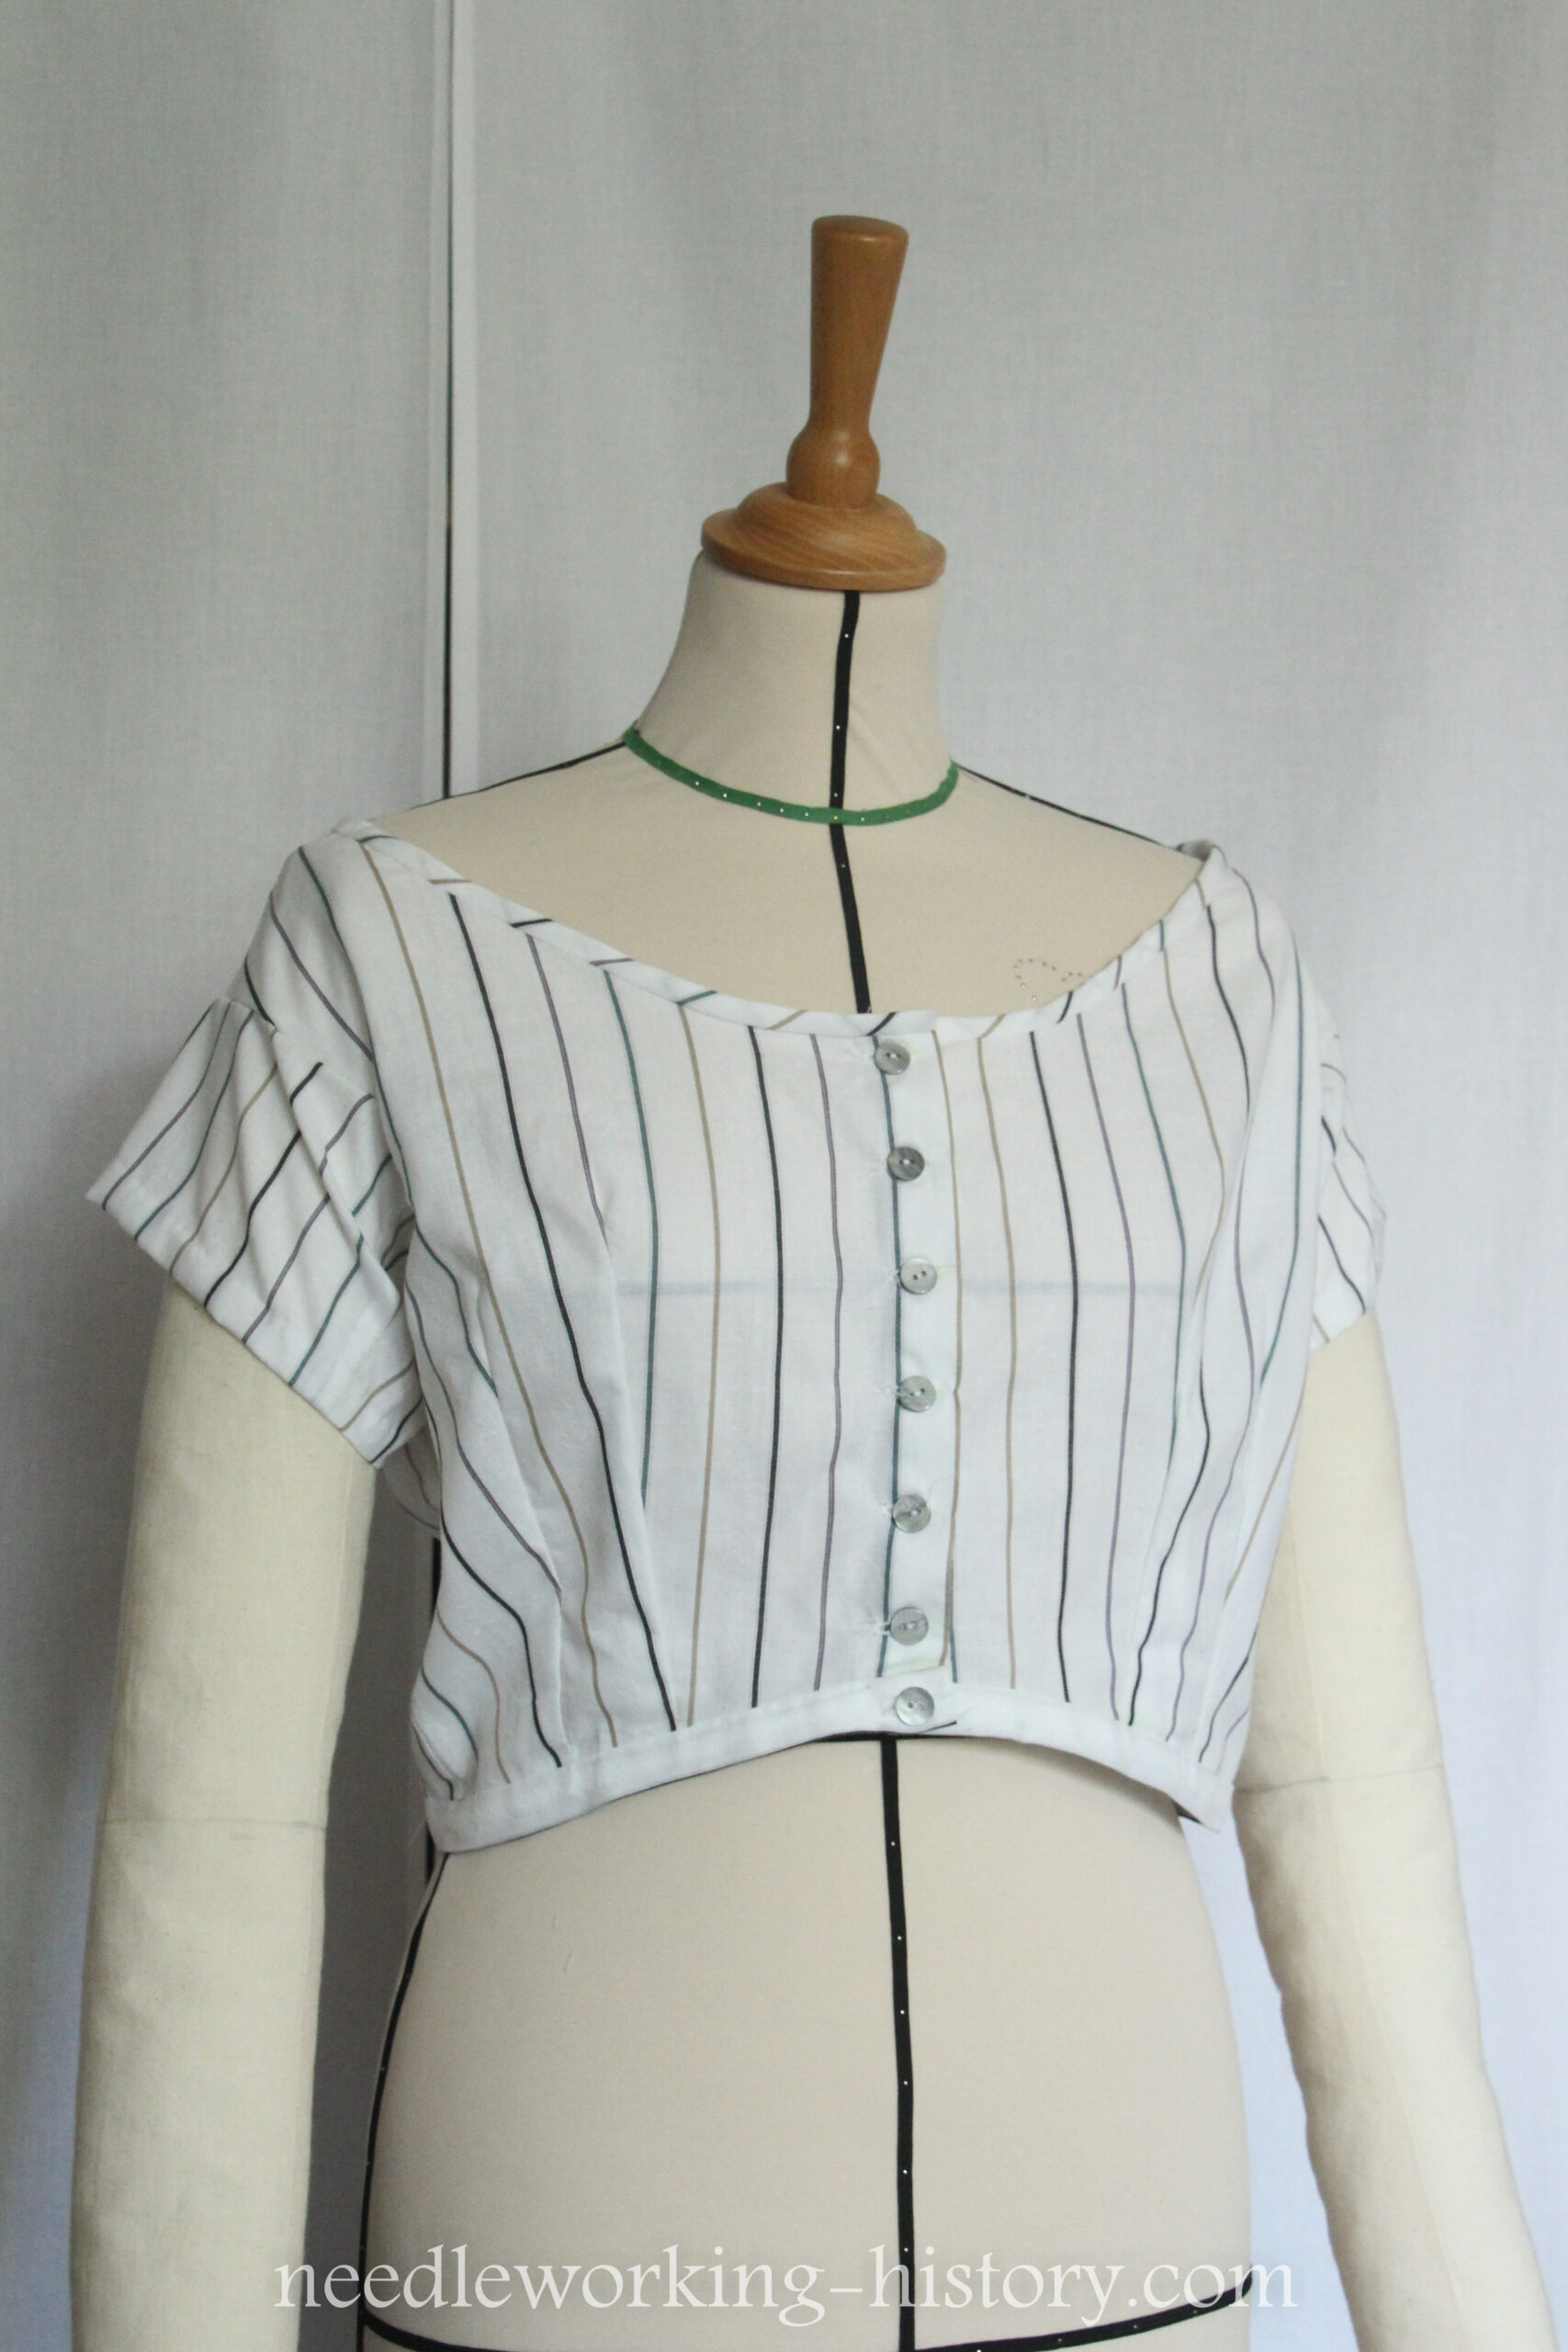
And finally I put the chemise on my way to tiny dress form I had to use in school for the draping class, pinned it on and made those pictures for you!
In the next post I’ll show you my new corset and give you a review of the pattern I used!
See you next time! 🙂


