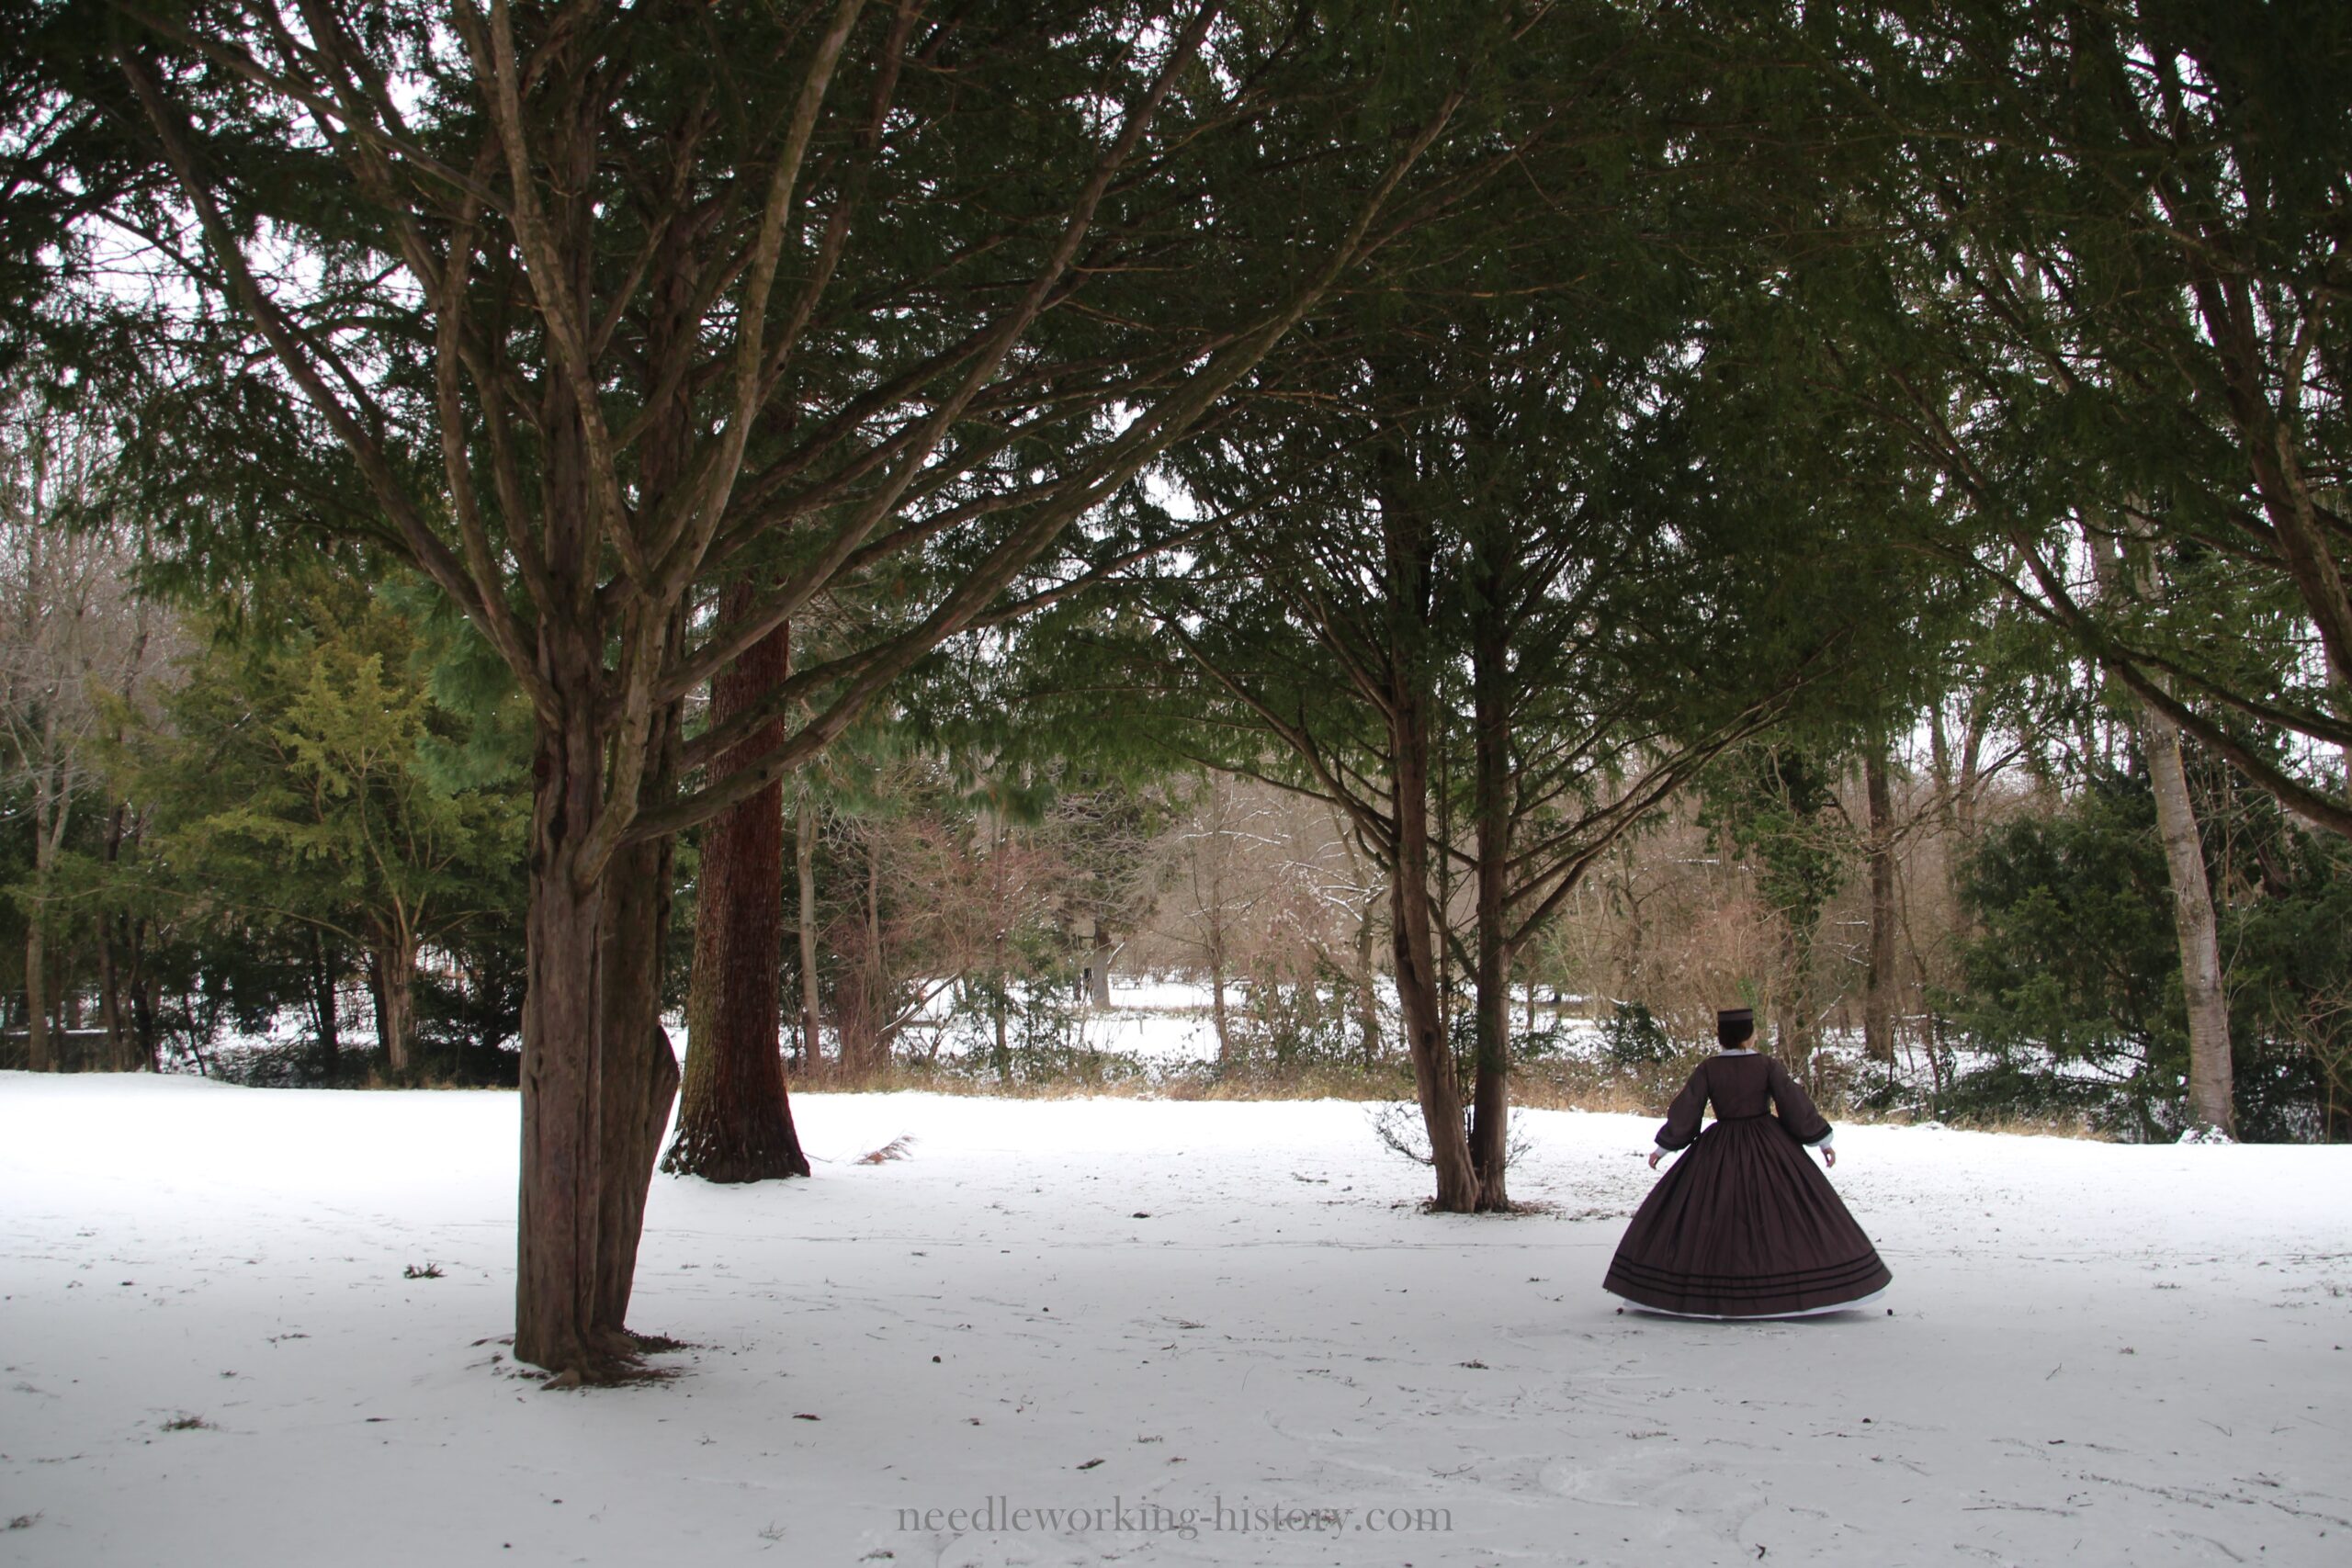
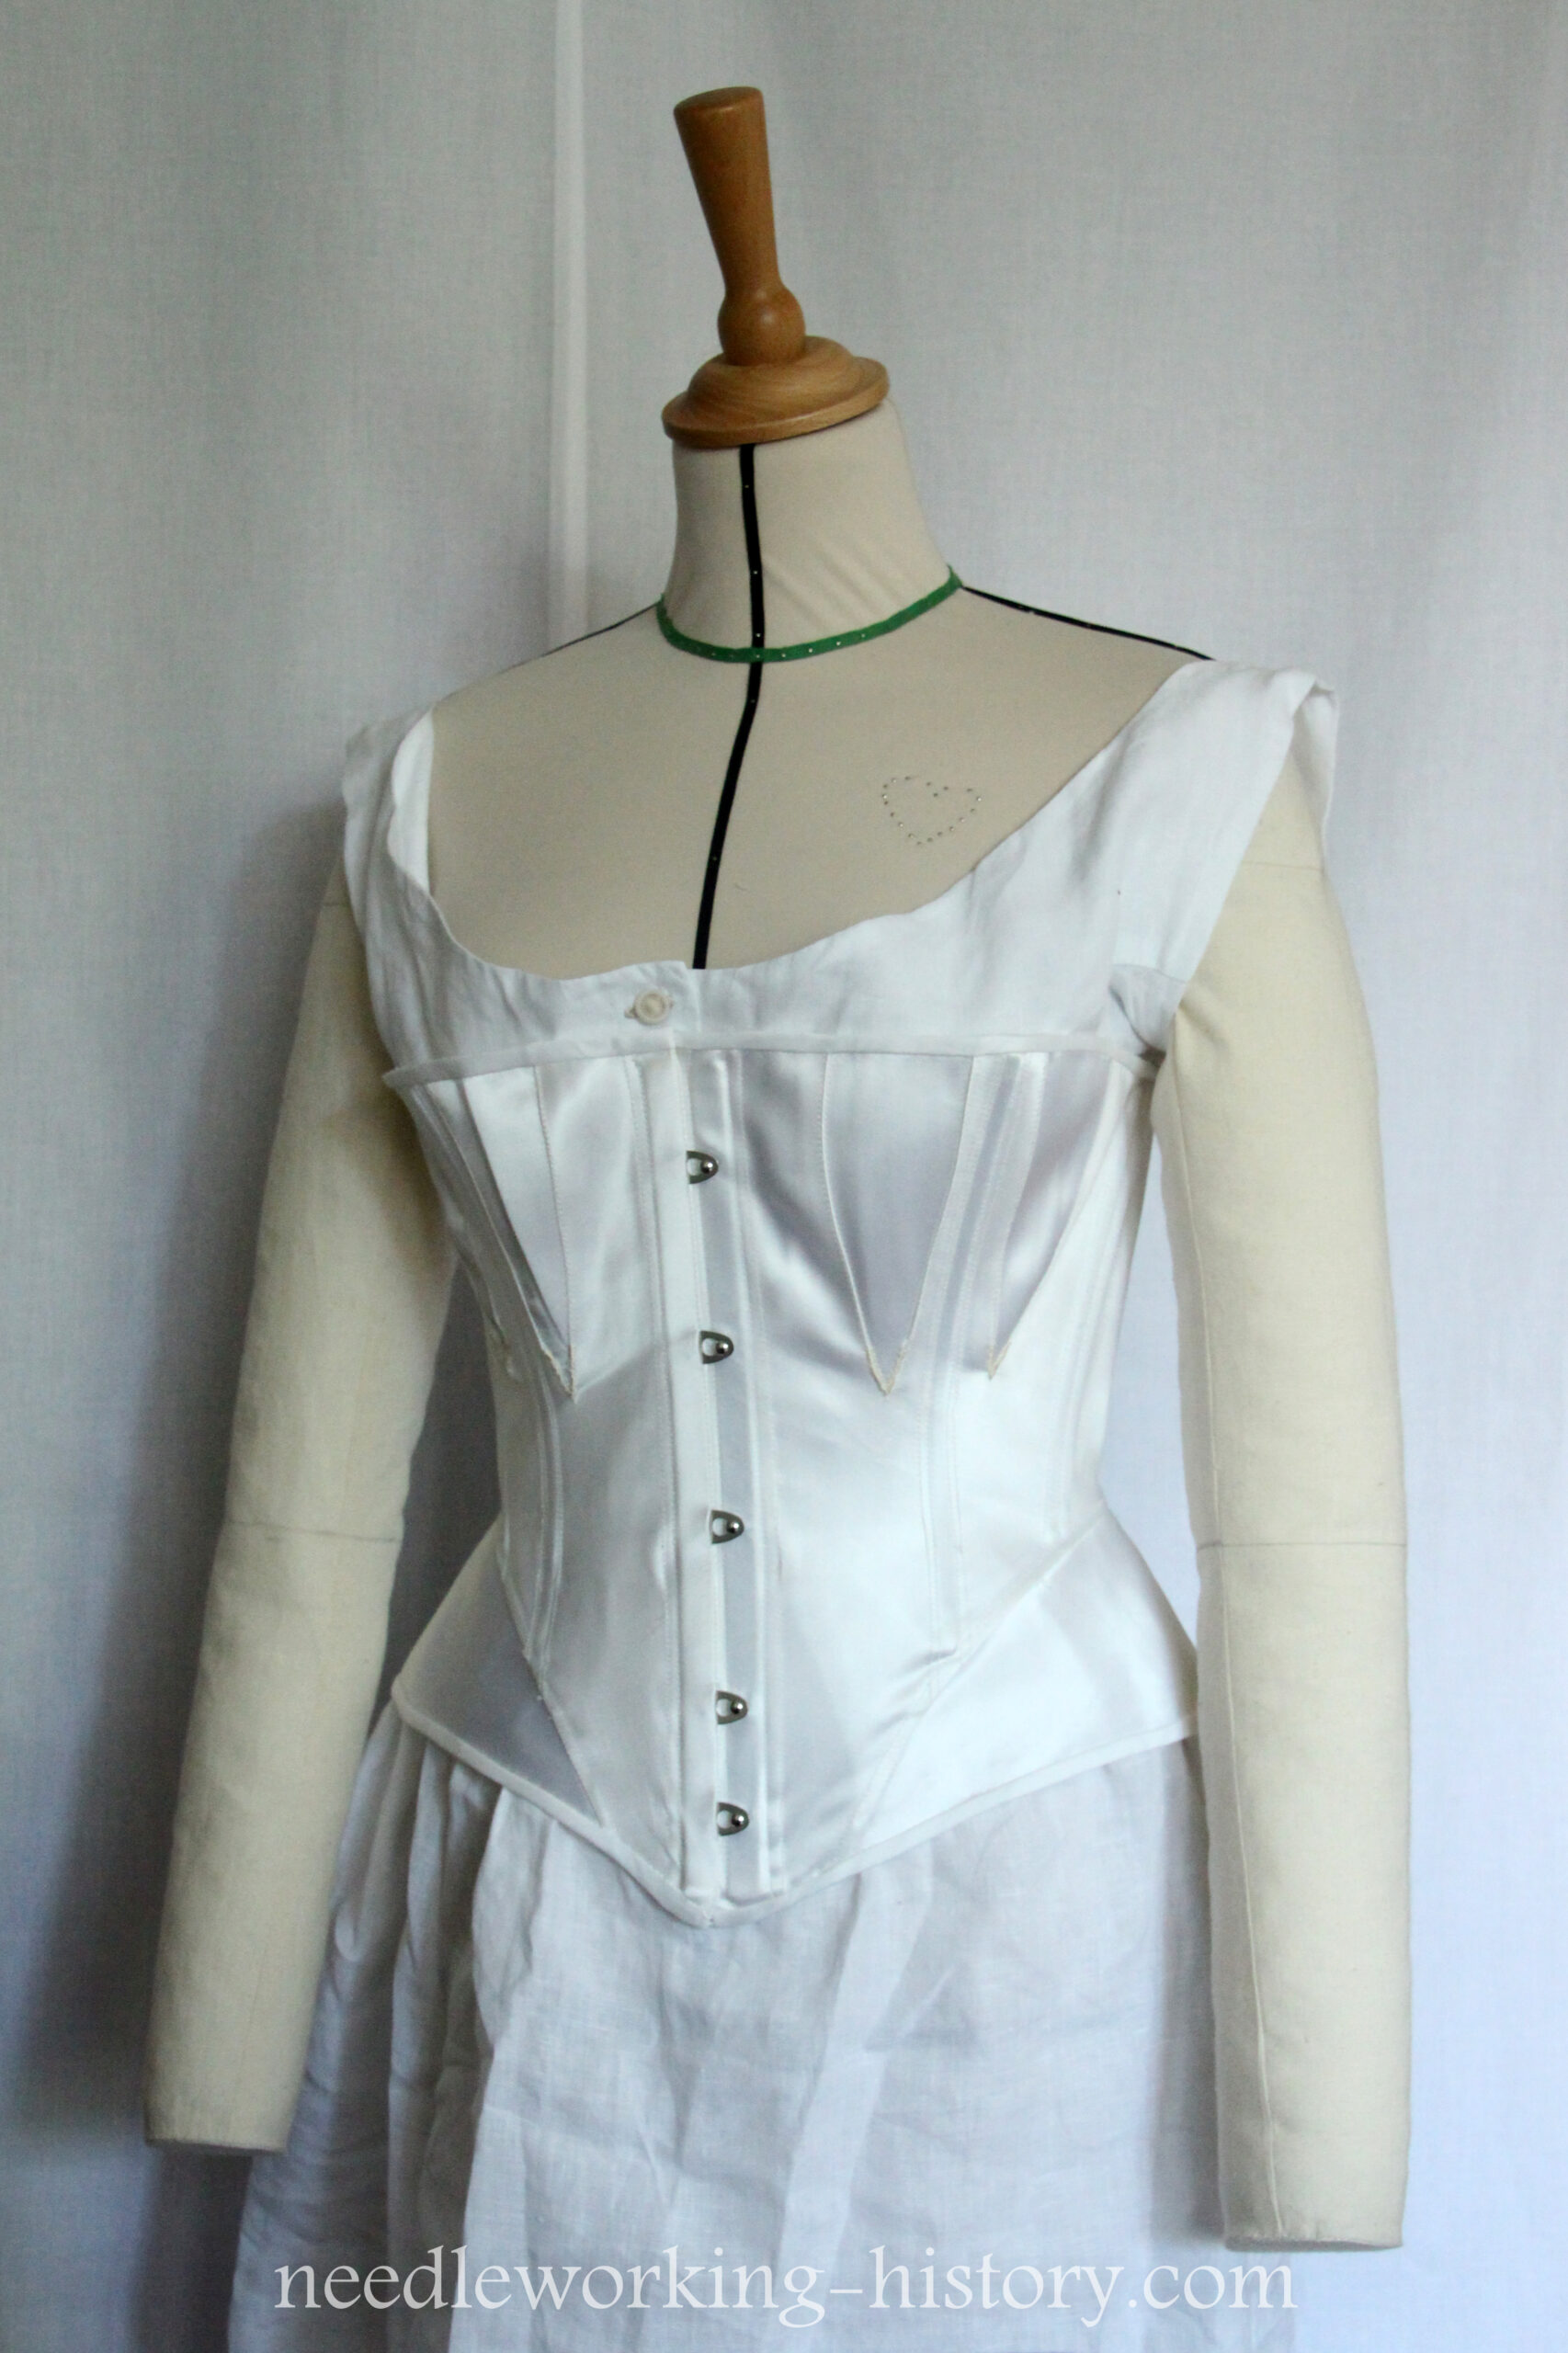
After all the underpinnings were sewn and ready to wear I startet with the dress itself.
I searched a lot on Pinterest and found so many amazing dresses and gowns but the muslin dresses sparked the most joy in me. They look so light and flowy and perfect for hot summer days.
I ordered white muslin from india while I was sewing the underpinnings but the parcel got lost. I got a replacement from the seller but I knew it would take too long to arrive because my finals were fastly approaching and I had to get most of the dress done before them.
So I needed new fabric and I had so much luck! I bought a roll of fine white cotton with stripes and a dainty woven pattern inbetween the stripes. 17m did cost me about € 55,-. So it was super cheap and now I had plenty of fabric for a flounced skirt and a bodice.
I started with the flounced skirt – an easy and fast project because I sewed everything by machine.
I started with making a base for the flounces and used big triangles to do this. I gathered the top and pinned it into a waistband and on my dressform.
I wanted three rows of flounces on my skirt and used 3 fabric widths for the top row, 5 for the middle row and 6 for the bottom row. I just sewed them together on the sides, pressed the selvedges and hemmed everything by machine.
Next I ruched them, pinned everything on the dress and sewed it on the base skirt. I pricked myself way to often while doing this…pins are evil!
The top row got sewn into the waistband and I sewed it shut from the back by hand. I didn’t want a machine seam on my waistband because the rest of the skirt was already not historical accurate.
Then it was time to finally try the skirt on with all the correct underpinnings.
It looked so good! Like a buttercream cake – and this was my goal.
The only downside was, that the skirt was slightly too long for my liking.
To solve this problem I sewed little tucks into the base skirt underneath the ruches. Now the skirt has my desired length and If I get shoes with a little heel or I borrow the dress to someone who has not the size of a hobbit I can let them out again to make it a little bit longer.

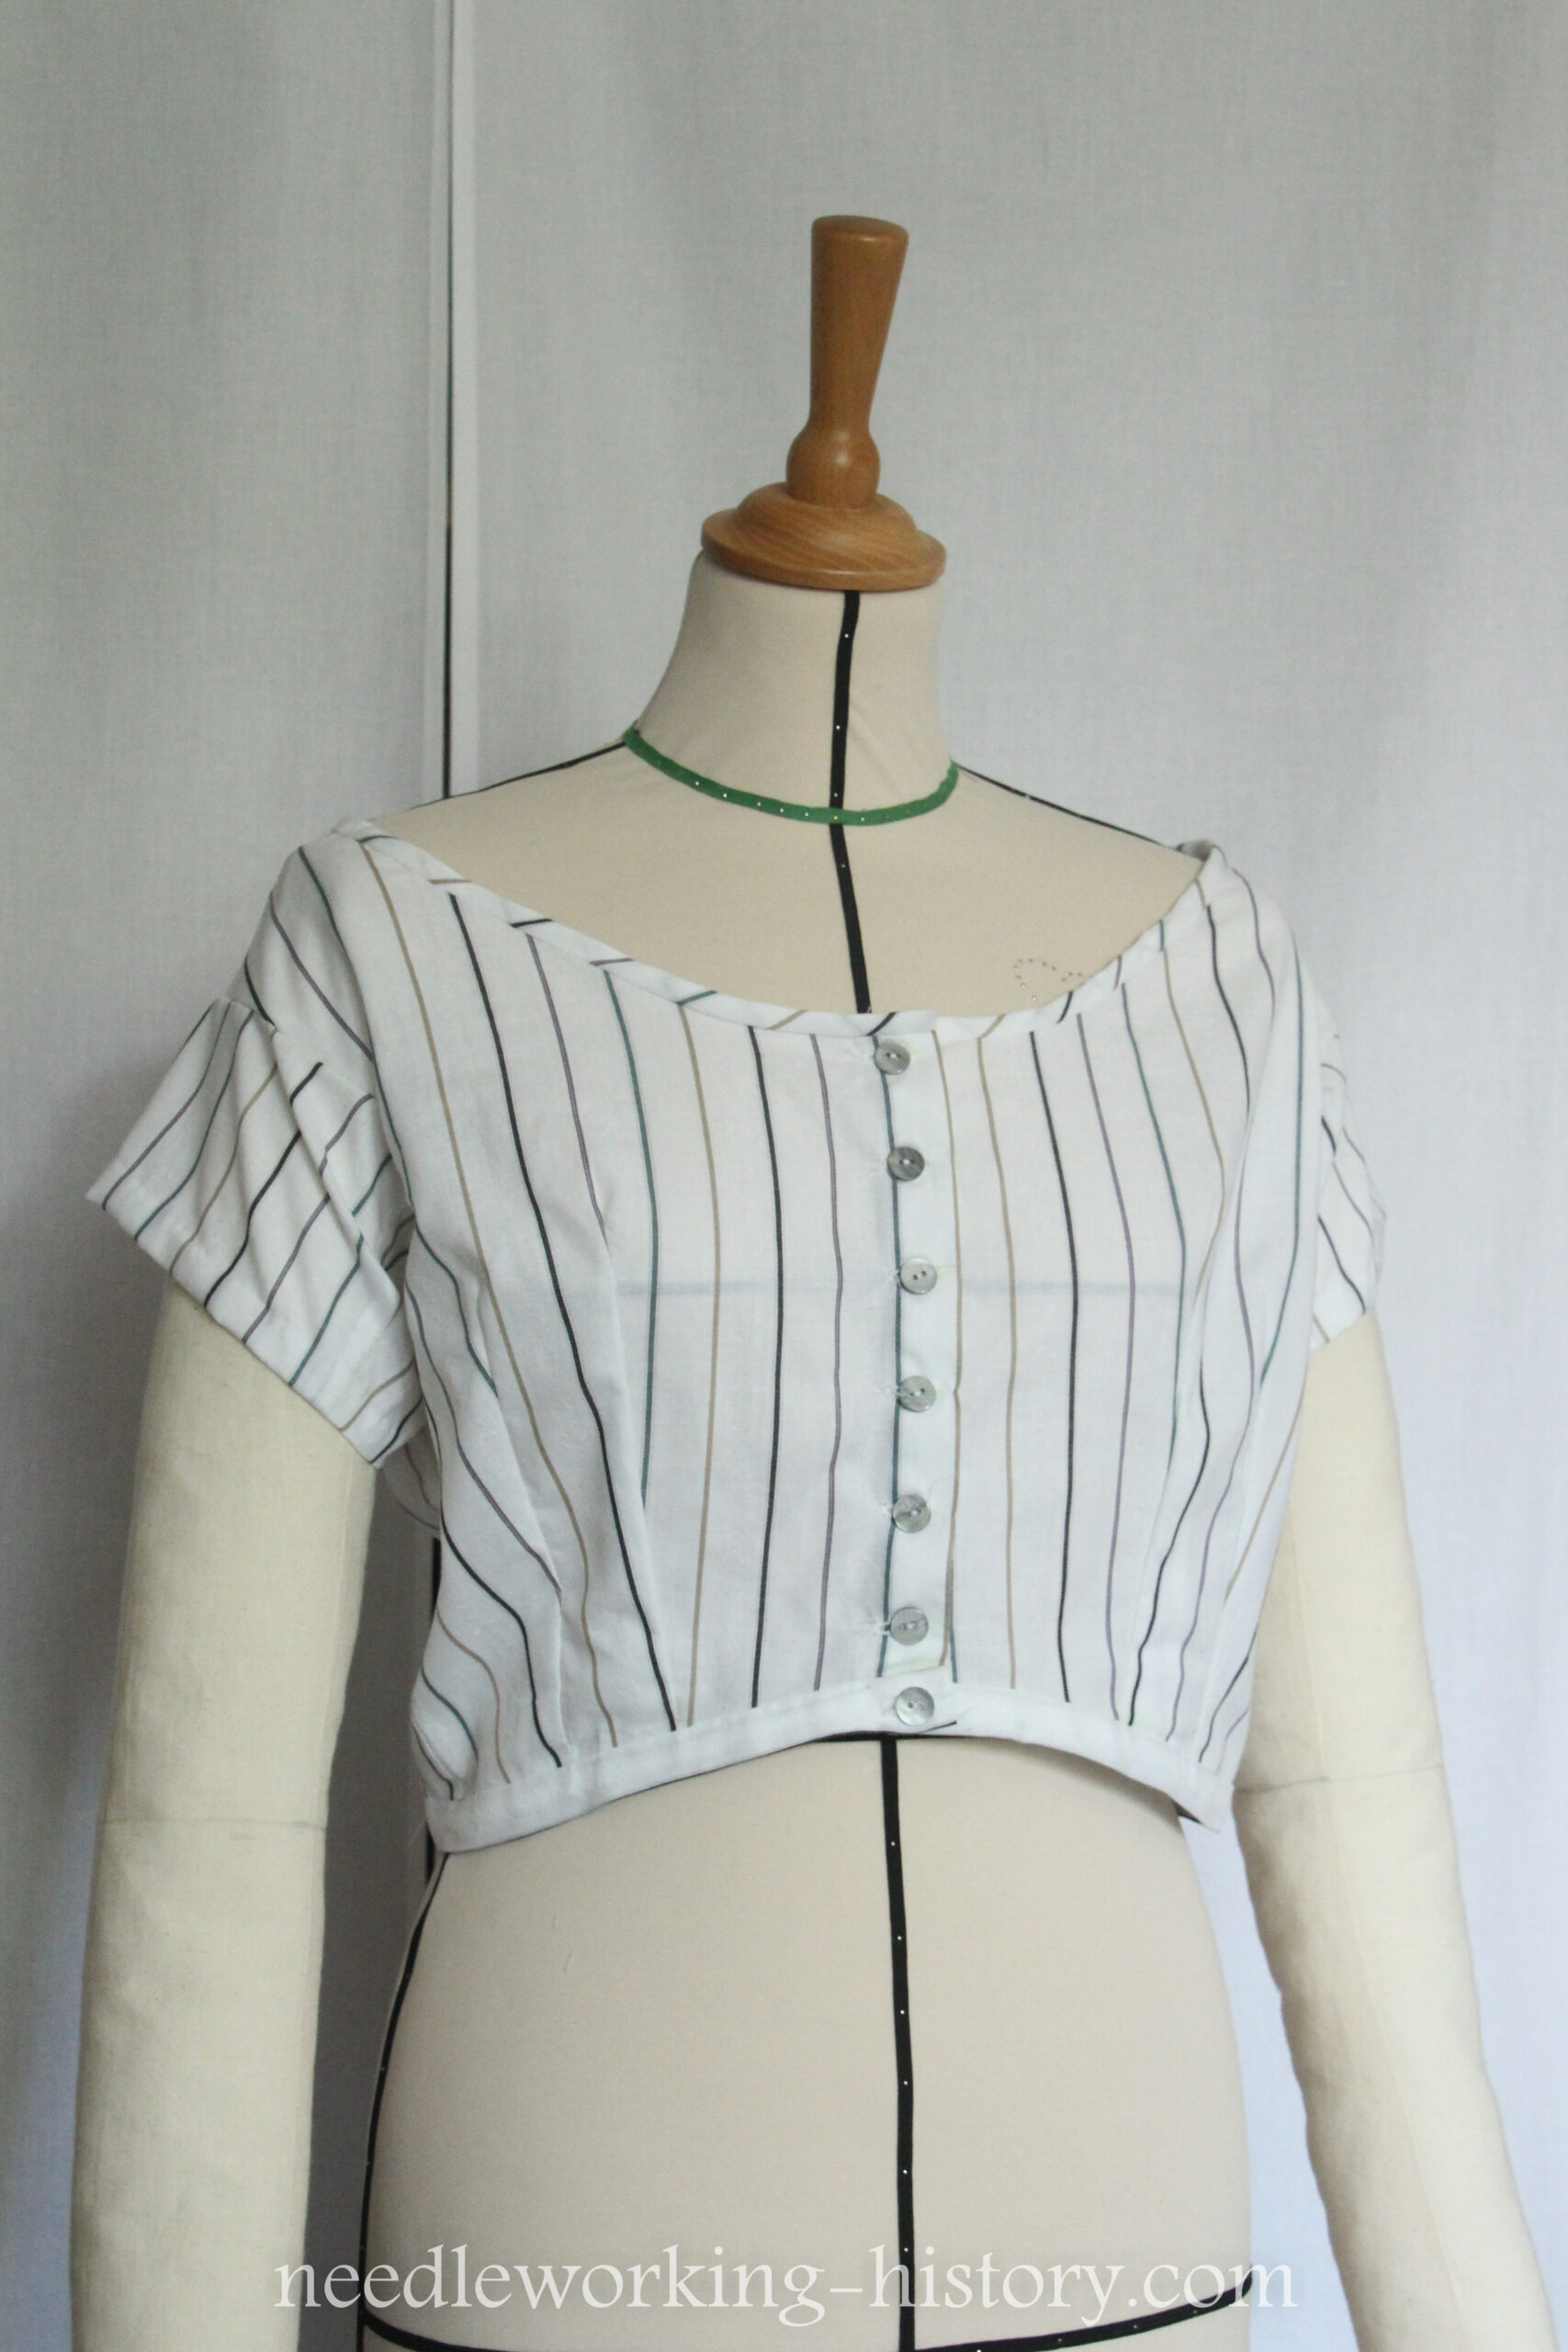
What was now left to do was the bodice. Since I had bought so much fabric I decided that I wanted to make two bodices. The first one should act as a fancy and wearable mock up and the second one should be the one for the walk in the park.
I used a pattern from Patterns of Fashion 2 and scaled it up on my Computer and printed it out to glue it together.
Since I knew the original would be too small for me I only scaled it up roughly and didn’t bother too much with it.
The first mock up was made out of a cheap cotton and I was surprised that the shape was perfect for my body. Just needed it to be a bit wider.
I now cut out the bodice, sewed it together by machine and sewed the second seam for the flat felled seam by hand. I always sew construction seams by machine but visible ones by hand to have a more period look. It was super relaxing to do them by hand while watching TV or skyping with friends.
I don’t have any pictures from the construction itself, but it was super simple to make. The neckline was finished with a bias strip of my fabric.
But now a few pictures on my tiny dressform I needed for draping class in school. (It’s way too tiny for my, but I have made arms fot this one..looks a lot better than without arms :D)


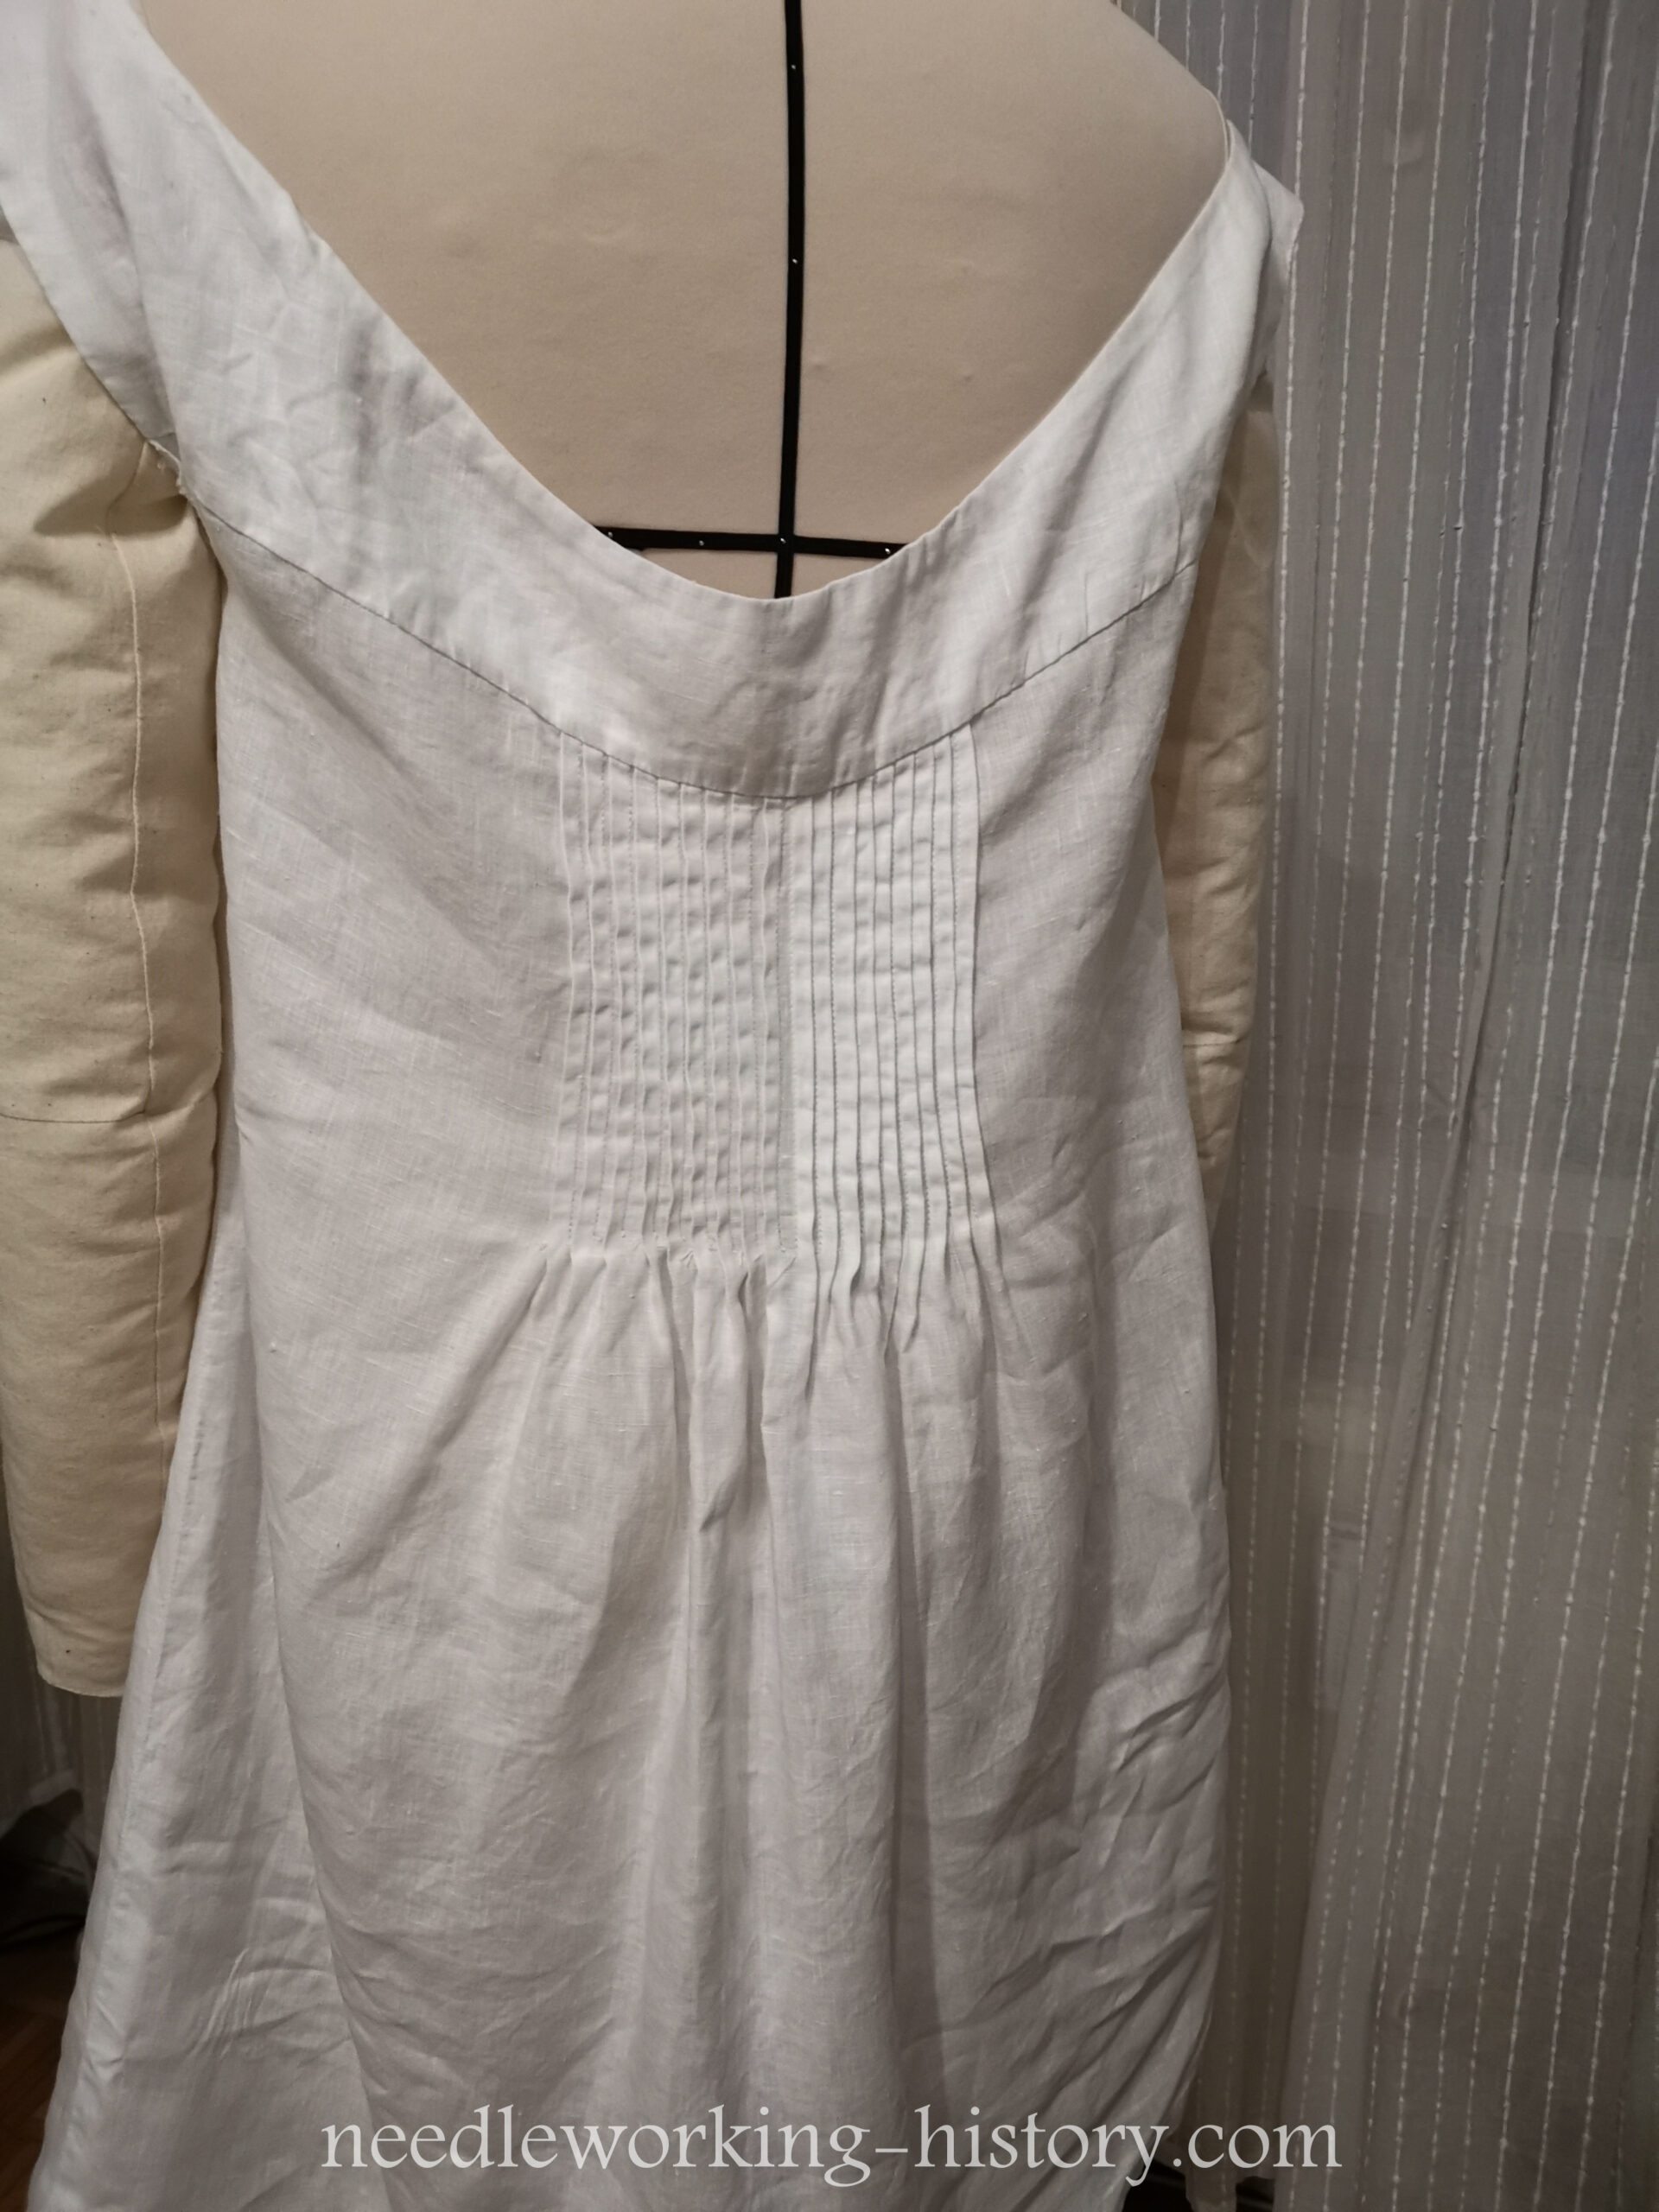
The second bodice was made with the same pattern but I made a wider neckline and I moved the darts a little bit to the side. The construction was the same as with the first one, the only thing I changed was how I cut the back. I wanted a „V“ shape…took me 2 trys to cut it out correctly. 😀
I really like the neckline on the second one. It looks very elegant but is still appropriate for daywear! I’m currently working on a matching cape out of my indian muslin which arrived when I finished sewing the skirt. I wanted at least one piece out of this fabric for my dress!


